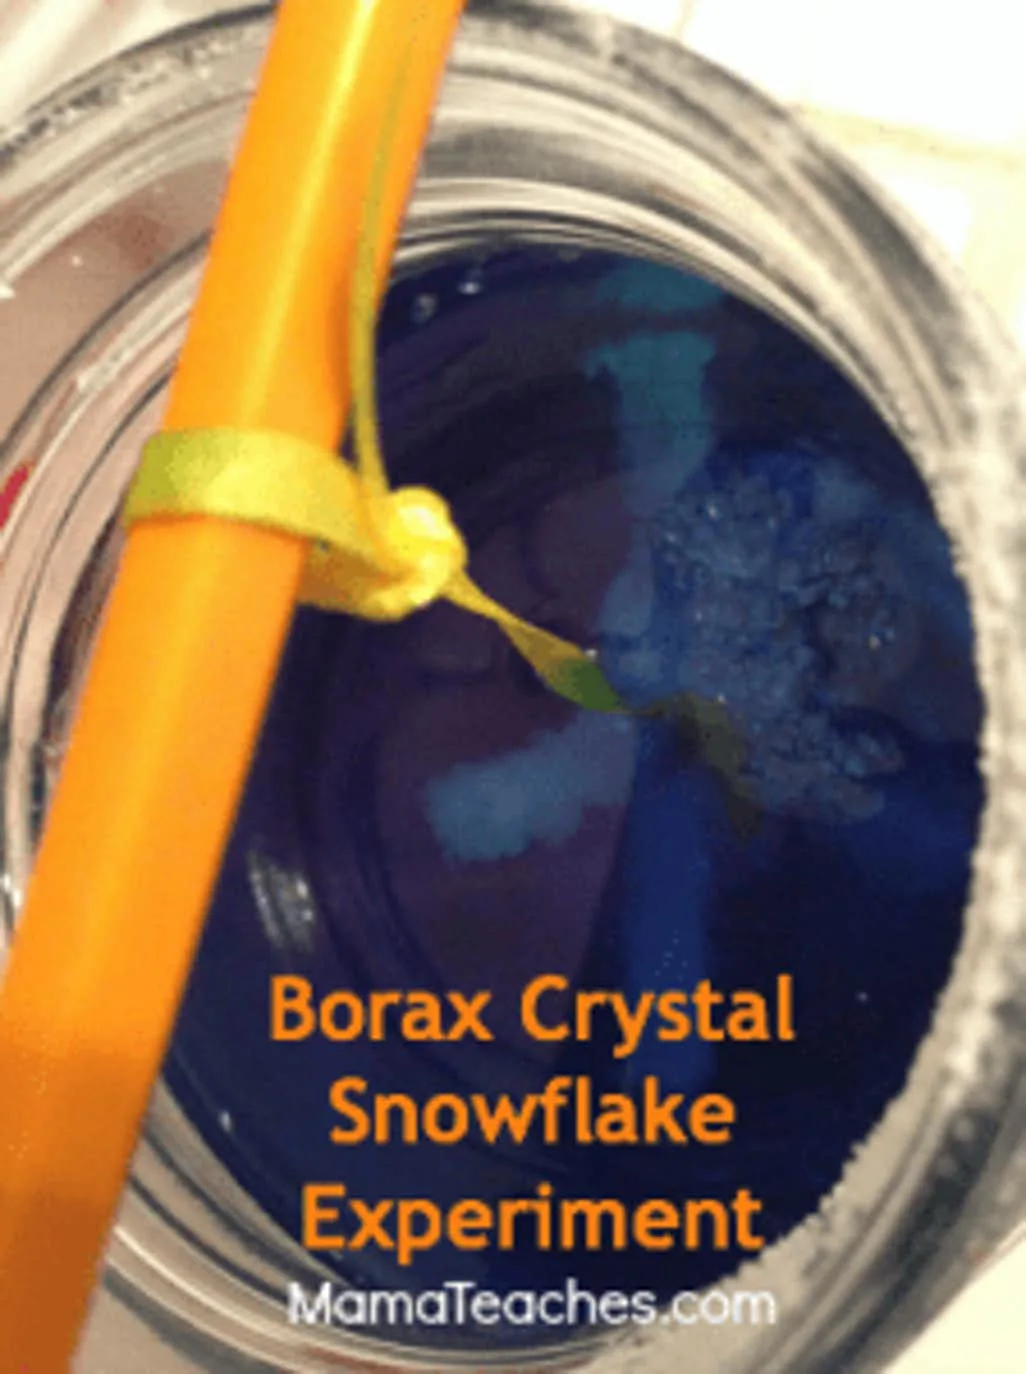
With all of the snow and cold weather we have had this winter, it may seem redundant to have a lesson on “ice” crystals, but that is what we did today.
Little Miss Kindergartener has been reading Mice on Ice by Rebecca Emberley and There Was a Cold Lady Who Swallowed Some Snow! by Lucille Colandro this week, so this crystal snowflake experiment seemed to be the perfect addition.
Borax Crystal Snowflake Experiment
* As always, science experiments should be done with an adult – especially when they involve boiling water and borax! Children should not do this experiment on their own.
Materials
- ribbon
- mason jar or old glass jar with a wide mouth
- white pipe cleaner
- borax (we used 20 Mule Team Borax)
- pencil
- boiling water
- food coloring (optional)
- scissors
Directions:
- Gather your supplies.
- Put the tea kettle filled with water on to boil.
- Cut your pipe cleaner into three equal pieces.
- Twist them together at the center to make a snowflake. It will be small. Test to be sure it will fit through the opening of your glass jar without touching the sides. If it touches the sides, trim it until it no longer does.
- Tie one end of the ribbon to the middle of the pencil and one end to the middle of the snowflake. When the pencil is positioned across the mouth of the jar and the snowflake is hanging down into it, the snowflake should not touch the bottom of the jar. Adjust the ribbon length as needed. Remove the snowflake from the jar.
- Fill the jar with boiling water from the tea kettle. Fill it about 1-inch from the top.
- Scoop in 3-6 Tablespoons of borax – one tablespoon at a time to the boiling water. Stir to dissolve the borax. If your jar holds more than 2 cups of water, add another 3 Tablespoons. (Hint: 3-4 Tablespoons borax per 1 cup water works best.)
- Add three drops of food color to the jar. Your crystals will be whatever color you add to the water/borax solution.
- Submerse the snowflake into the solution and position the pencil across the mouth of the jar so that it hangs in freely.
- After a couple of hours you will begin to see crystals forming on the snowflake. Let it sit overnight for best results.
- The next day, remove the snowflake from the jar and hang it to dry over a paper plate or a couple of layers of paper towels. Sometimes it drips, so you want to be sure the food coloring doesn’t get on your counter or desk.
- Hang your snowflake up and take a picture to share with us on our Facebook page! Have fun!
