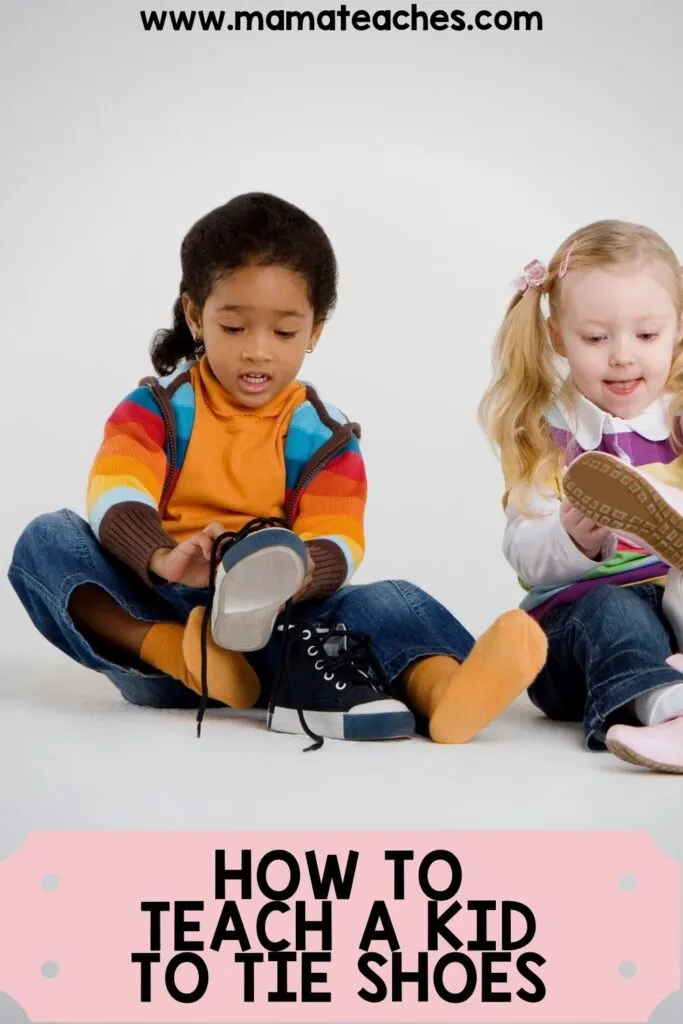
Learning to tie shoes is a mile marker on the way to independence.
All your child needs is a little coordination and some clear instructions from you to get the job done.
Teaching a Kid to Tie Shoes
Even in an era of velcro and slip-ons, shoelaces are still commonplace.
It is a must to know how to tie shoes.
You probably do it yourself without even thinking through the steps.
But do you know how to teach a kid to tie shoes?

This article contains affiliate links to things that you might like.
When to Teach a Kid to Tie Shoes
First, you need to wait until a child has the fine motor ability to perform the task.
This occurs around 5 years of age (but sometimes later).
If your child can perform fine motor tasks such as beading, zipping up a jacket, or holding a pencil correctly, he is ready to learn to tie shoes.
Second, your child needs patience and determination.
Typically, you don’t master tying shoelaces in one sitting.
It takes time and practice.
Make sure your child is in the right mindset to learn the task (as in, don’t attempt this at the end of a long day).
How to Teach a Kid to Tie Shoes
Not all shoelaces are created equal.
Slippery and thin shoelaces are the most difficult to manipulate, so steer clear of those for beginners.
Choose long, flat shoelaces.
Consider buying a set and relacing the set in your child’s existing sneakers (or put the laces in an older pair).
It is easiest to learn when you have plenty of lace length dangling from the shoe.
When teaching a child to tie shoes, make sure she holds the shoe with the toe pointing away from her.
Practice the task the way she will do it for the rest of her life.
There are two distinct methods when it comes to how to tie shoes.
Both have the same initial steps.
One method is not better than the other, so pick the one that clicks with your child.

Method 1: Bunny Ears
Step 1: Open up your laces by stretching them out on either side of the shoe.
Step 2: Grasp the laces close to the shoe and tug to tighten them.
Step 3: Make an X by crossing one lace on top of the other.
Step 4: Pinch the center of the X with one hand.
Step 5: With the other hand, grab the lace that is underneath the other and fold it over and through the top of the X. Tug both lace-ends to tighten. This is the base! Now you’re ready for the bunny ears!
Step 6: Make a “bunny ear” with one lace. Pinch the base of the ear close to the shoe.
Step 7: Make a bunny ear with the other lace. Now they match!
Step 8. Now repeat Steps 1-5 with the loops instead of the laces. Tug and tighten!

Method 2: Wrap Around
Step 1: Open up your laces by stretching them out on either side of the shoe.
Step 2: Grasp the laces close to the shoe and tug to tighten them.
Step 3: Make an X by crossing one lace on top of the other.
Step 4: Pinch the center of the X with one hand.
Step 5: With the other hand, grab the lace that is underneath the other and fold it over and through the top of the X. Tug both lace-ends to tighten. This is the base! Now you’re ready for the next step.
Step 6: Make a single “bunny ear” with one lace. Pinch the base of the ear close to the shoe.
Step 7: Keeping the bunny ear pinched, use your other hand to wrap the other lace around the bunny ear and rest the lace on top of your pinched fingers.
Step 8: Find the hole created by the wrapped lace. Push the top of the lace through the hole so it peeks out (now it is starting to look like a bunny ear too!).
Step 9: Release both hands and grasp the ends of both bunny ears. Tug and tighten!

How to Tie Shoes
Teaching a child to tie shoes is an exercise in patience–both for him and for you.
Take a deep breath, explain the steps, and work on it for a few minutes each day.
Pretty soon your child with be a lace-tying pro, and he’ll be one step close to independence!
