This article contains affiliate links to things that you might like.
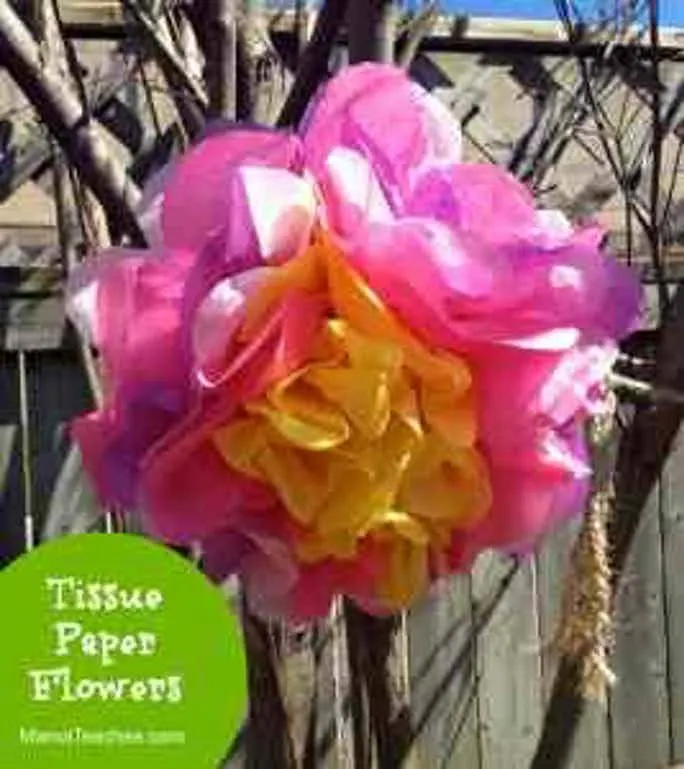
We love using this fun tissue paper craft to not only decorate for Easter and celebrate Spring, but also when we are learning about pollination and gardening.
They are also great if you just need a fun and inexpensive accessory to decorate a child’s bedroom, homeschool classroom, or playroom!
In fact, this craft is so much fun that it was featured in the #AllAboutEaster extravaganza!
Check it out and find other great crafts and delicious recipes.
Tissue Paper Flowers Craft for Kids
Ages: 3+ (with adult supervision)
Time: 15-20 minutes
Materials Needed:
- Four large sheets of tissue paper
- Child scissors
- Pipe cleaner
Directions:
- Fold the large sheets of tissue paper in half and cut along the fold. You should now have eight total pieces of tissue paper.
- Arrange the colors of tissue paper in the order that you would like them to appear in the flower. Stack the pieces of tissue paper neatly after the colors are arranged.
- Begin folding the tissue paper in an accordion style – front to back – so that the strip is about 1-inch wide. Continue folding until you get to the opposite side of the tissue paper.
- Bend the two ends of your folded strip together and wrap a pipe cleaner around the center of the strip.
- Carefully begin lifting the pieces of tissue paper, one at a time, up toward the center on the opposite side of the pipe cleaner stick. Keep lifting and fluffing the paper until all pieces have been done. Adjust the pieces to form your flower. Note: This step can be challenging for little crafters, because it requires a bit of patience and care. You may need to assist.
- Hang your completed flower inside or outside on a dry, sunny day for decorating fun!
Did you make the Tissue Paper Flowers Craft?
Take a photo and share it with us on our Facebook page!
We’d love to see your creation!
