This article contains affiliate links to things that you might like.
I’ve worked from home for the last eight years and, while I love it, I’ve often struggled with having my own designated work space.
Thankfully, I learned how to set up a home office in a variety of spaces.
From the dining room, to sharing the schoolroom with the kids, to a basement home office with little light, to my current ground floor level home office, I’ve had quite a few different spaces to call my work home.
Through it all, I’ve learned some valuable lessons about what you really need, what you can skip, and what will make your life a whole lot more pleasant.
Setting Up a Home Office
STEP 1: GET IN THE ZONE
Before I start rearranging things, I like to map out and make note of the different zones or areas my office needs.
For me, those areas are: work space, printing, crafting, shipping, and a photography/video area.
By defining those areas early on, I’m able to make room for them in my floor plan and adjust the room arrangement to meet my needs.
Learning how to set up a home office means knowing exactly what space you have to work with.
If you haven’t figured out where your home office will go yet, now’s the time to pick a spot.
Remember, it doesn’t have to be a big, fancy room.
A spare bedroom is ideal, but any corner will work.
Just think about what your needs are what space makes the most sense for you to set up your home office.
STEP 2: MAP IT OUT
My floor plan sketches are always very basic, so don’t think you have to be an amazing artist or hyper-detailed in order to create your room plan.
Basically, you want to draw the shape of the room and then roughly map out where everything will go.
Remember, it always looks like there’s more room on paper than there actually is!
Don’t forget to account for things like doors, stairs, windows, the locations of outlets, lighting, and vents.
STEP 3: MOVE IT IN
After you’ve sketched out where you want things, start moving them in.
I like to move the most important parts of the room in first and work around that.
For me, the large table that I use for my desk is the most important piece, so I like to get that set-up first. Once that’s set-up, I move on to the other components.
The biggest thing to keep in mind as you’re moving things in is that it has to flow and you have to be able to move around the pieces.
If you have to walk around a few things to get to your desk or table, chances are that you’re not going to be very happy with the set-up for long.
There should be a clear, easy-to-navigate flow around the room that makes it easy to get to the things you need.
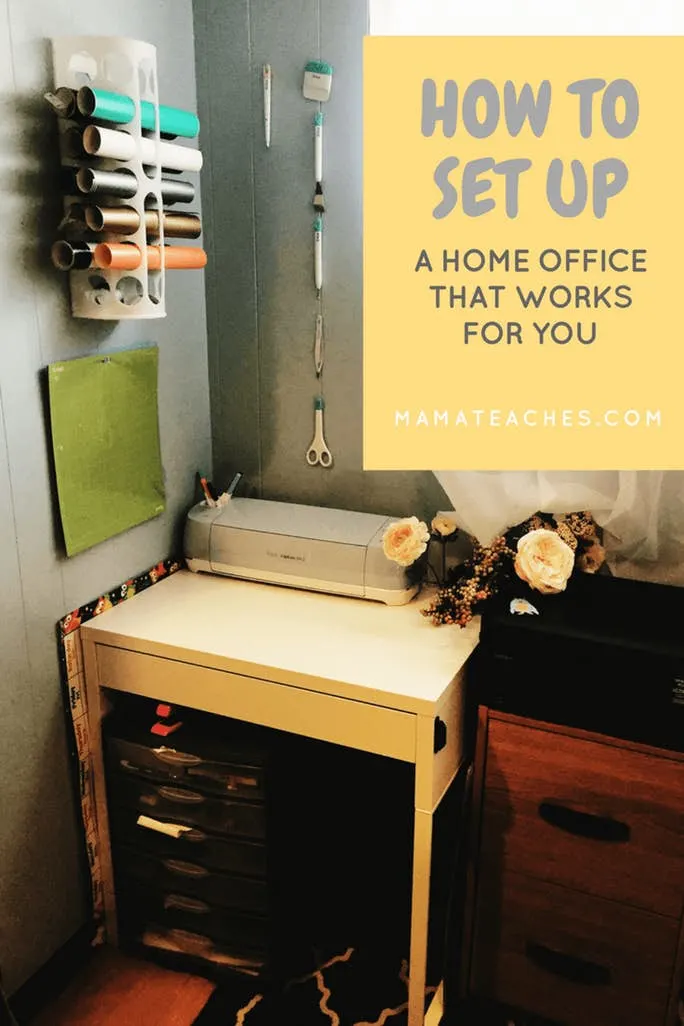
You can see in the picture above that there’s plenty of room to get to my desk while still having the printing and crafting areas close by.
I used to have the printer behind the desk, but it felt cramped and awkward – not to mention I slammed into it with my chair more times than not!
Don’t be afraid to rearrange things once you get the pieces into the room.
As I mentioned above, there always seems to be more room in the layout sketch than there actually is in the room.

STEP 4: STORAGE & CLUTTER
A cluttered home office usually results in feeling overwhelmed, frustrated, and unproductive.
Visual clutter is detrimental to your work, so make sure that you have plenty of storage.
Bookshelves, boxes, rolling carts with drawers – whatever you need to keep yourself organized and have a clutter-free home office is worth investing in.
I use a large armoire for my shipping and craft supply storage.
The shelves work perfectly for me and there’s plenty of room for all of my supplies.
The rolling filing cabinet that the printer sits on doubles as paper storage.
Bookshelves hold my photography equipment, files, and materials.
Don’t forget about your wall space!
I use the wall above my craft area to store the tools I need for my Cricut.
If you need to, hang up wall shelves to give you the extra space you need.
Use the storage solutions that work for you in the space that you have available
STEP 5: ADD PLANTS
I love the look of plants in my home office.
They make the room feel cozier and brighten up the space.
Since we have five cats and two dogs, I’m always worried that I’ll accidentally bring a plant into the house that will be poisonous to them when they munch on it – because they will munch on it.
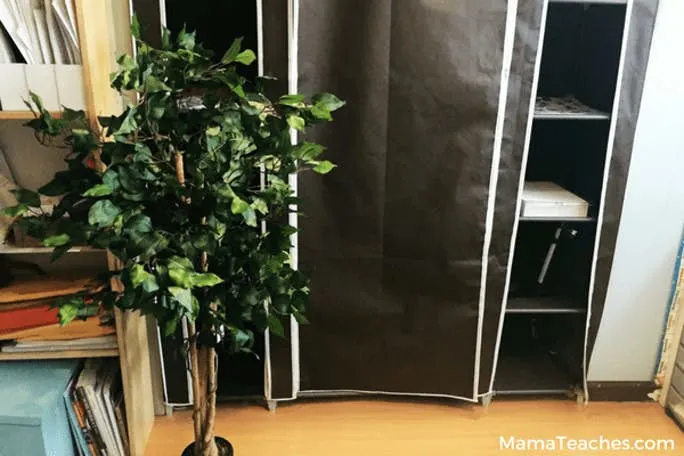
One of the compromises I’ve made that gives me the greenery without the worry is to add a tall ficus tree.

The beautiful ficus tree in the picture is being provided by the good folks at Commercial Palm Treesfor this article – thanks guys!
It’s one of the most beautiful artificial ficus trees I’ve ever seen and adds such warmth and harmony to my home office!
I love it!
The ficus tree is perfect for adding that touch of green and, if I needed a bit more lighting, it would be perfect for stringing white lights around.
The best part?
It won’t die or drop leaves all over my office floor!
Yay!
STEP 6: LIGHTING
Natural light is always best when you’re working, but, after having an office in the basement for a couple of years, I know that’s not always possible.
If you don’t have a window, consider getting a lightbulb that mimics sunlight.
It will help fuel your creativity and help you focus!
If possible, skip the fluorescent lights and get softer lighting that provides you with the light you need without the harsh glare.
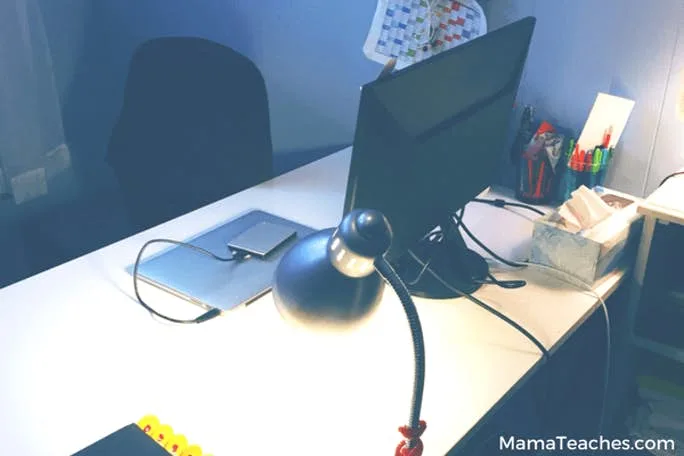
A desk lamp is also a good idea!
STEP 7: OFFICE BASICS
Now that you have the room set up and ready to go, be sure your home office is stocked with the basics.
Consider getting:
- a stapler
- scissors
- permanent markers
- dry erase markers
- a power strip with surge protection
- notepads
- pens
- pencils
- a wall or desk calendar
- a planner (you can download this one for free)
Having the supplies you need close by can make your work at home day go even smoother.
Working at home definitely has pros and cons, but carving out even a small kitchen work area for yourself can make a huge difference in how you approach your tasks.
Take the time to set up a home office that works for you and gives you the space and the inspiration you need.
Happy working!
