This article contains affiliate links to things that you might like.
I can’t even begin to tell you how many times we’ve read the complete Chronicles of Narnia series. C.S. Lewis probably never expected people to read his books over and over again, but we absolutely love them.
There’s something magical about each story and the characters stick with you long after the book is over.
So, it was no hardship to convince my tween and teens to try creating some Narnia-inspired ornaments for the 10 Days of Christmas Kid Made Ornaments round-up.
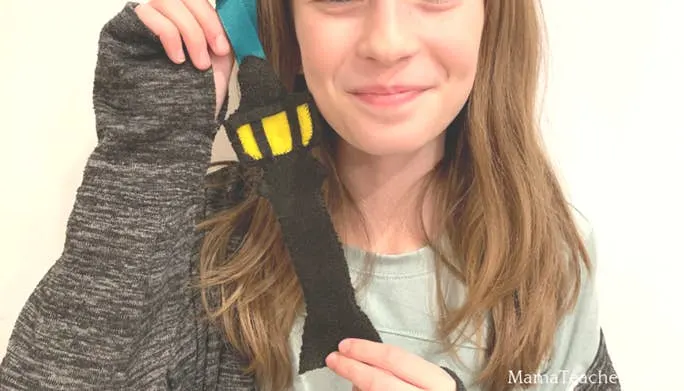
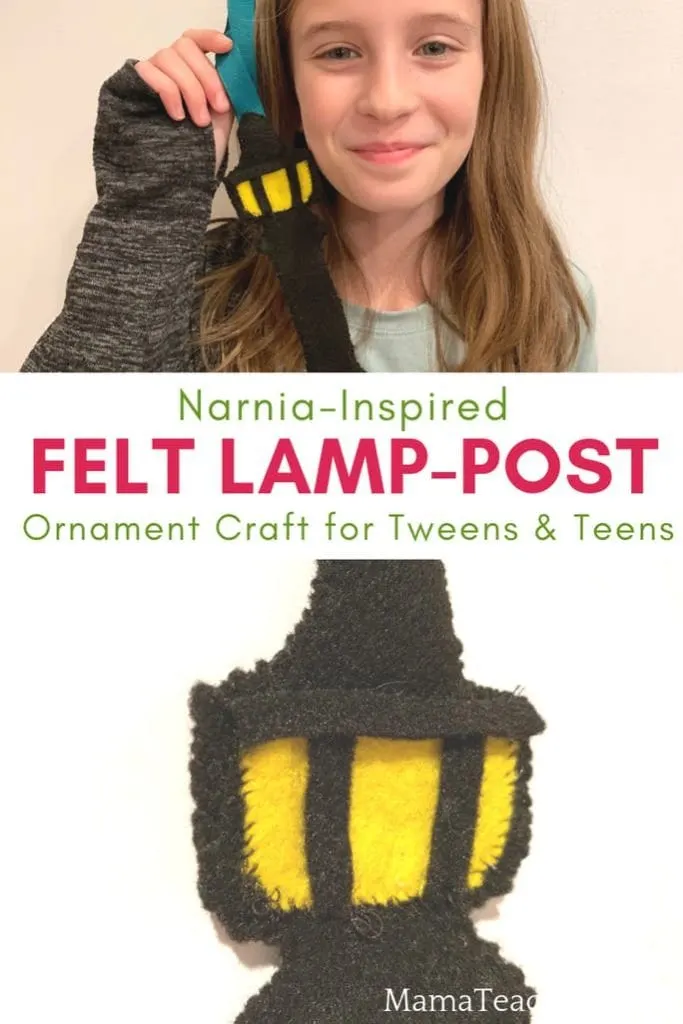
Today is Day 7 and we’re super excited to share these felt lamp-post ornaments that we created to remind us of our favorite children’s book series of all time.
Tips for Creating the Narnia Ornament
While elementary-age kids can learn to sew, my tween and teens agreed that this is a project that is better suited for their age range.
There’s a lot of sewing and some tight spots, so it may be a bit tricky for novice sewers.
We also recommend having sharp scissors to cut the felt. Dull scissors make it a lot more difficult.
To stuff or not to stuff…that is the question.
We tried it both ways, but the kids suggested that we recommend not using stuffing as it didn’t add too much to the ornament and made it a lot harder to sew.
Have fun! It’s not supposed to be perfect…after all, isn’t grace and love the whole message the Narnia series is based on?

This post contains affiliate links.
The Chronicles of Narnia
If you haven’t read the books yet, we highly recommend that you spend some time reading them!
Even the first one, The Lion, The Witch, and The Wardrobe, off of which the lamp-post ornament is based and my favorite of the series, is worth a read before the holidays!
Get the entire Chronicles of Narnia series HERE!
Narnia Lamp-post Felt Ornament
Supplies Needed:
- Lamp-post Template Printable
- Black felt
- Yellow felt
- White fabric pencil
- Scissors
- Pins
- Black Thread
- Needle
- Glue
- Ribbon
Directions:
- Print out the template and cut it out.
- Trace the lamp-post template twice and the strips onto the black felt and cut them out. We used the white fabric pencil to trace the pattern, but you could always use a white colored pencil instead.
- Trace the light template out on the yellow felt and cut it out.
- Place the two lamp-post cut-outs together and pin them together.
- At the top of the lamp-post, insert both ends of the ribbon between the two pieces to make the loop. Pin it, so that the ribbon doesn’t slip as you’re sewing.
- Sew the two pieces together all around the outer edge.
- Glue the strips onto the yellow light fabric to make the lamp-post light box effect.
- Pin the light piece onto the lamp-post.
- Sew the light onto the lamp-post.
- Hang on your Christmas tree!
If you decide to try the lamp-post Narnia ornament, tag us on Instagram @MamaTeaches!
We would love to see your creation!!
10 Days of Kids’ Christmas Ornaments
Be sure to check out these other amazing kid-friendly ornaments from some of the best and most creative crafters around!
All of the ornaments are based on children’s books, so they’re the perfect combination of creativity and learning.
Get a complete list of all of the fun ornaments over at Mama Miss.
Melissa is graciously hosting this year’s ornament round-up!
Thanks, Melissa!!
Here are the ornaments for Day 7:
- A Rainbow Fish Inspired Ornament from my craft site, That Kids Craft Site: This foamy fish is full of color that preschoolers will love!
- Grinchmas Fingerprint Ornament from Nadia at Teach Me Mommy: Love the story of the Grinch? This is the ornament for you!
- Origami Kimonos from Crystal at Castle View Academy: We love origami ornaments, so this one looks especially fun to try!
