Understanding Pencil Grip Stages
Holding a pencil correctly is the key to writing smoothly and neatly. Learn the pencil grip stages and how to help your child write well.

What is Pencil Grip?
Why is pencil grip such a big deal? You hold the pencil and write with it, right?
It’s not that simple.
Holding a pencil is incredibly complex.
Your hand contains 34 muscles and 27 bones, and you must control them all to hold a pencil correctly.
A proper pencil grip gives you both control and flexibility.
You need to be able to move the pencil smoothly across the page. That is the work of the fingers.
The outer hand provides support to protect against fatigue and improve legibility.

This article contains affiliate links to things that you might like.
Why Is It Important to Understand the Stages?
When you know the pencil grip stages, you can be assured that your child is on the right track.
You’ll be patient with the process (because it does take time to develop a mature pencil grip).
You can also seek intervention if your child is not progressing correctly.
Most children have a mature grip by first grade.
Consult an occupational therapist if you are concerned about your child’s pencil grip.

What Are the Pencil Grip Stages?
Here are the typical pencil grip stages. Your child may move through all of them or only a couple.
Fisted Grasp
This is the most typical starting pencil grip. The child grabs the pencil with his whole fist (thumb upward).
He moves the pencil or crayon with his entire arm.
Palmer Grasp
In the palmer grasp, the child grabs the pencil or crayon from the top and pinches downward.
He still needs to use his whole arm to control the movement of the pencil.
Static Three-Fingered (or Static Four-Fingered) Grasp
With this grasp, the child grips the pencil with the pads of three (or four fingers).
Although this looks like a mature grip, the child does not move his fingers to draw with the pencil.
He moves his arm instead; the fingers are immobile.
Dynamic Grasp (Tripod or Quadruple)
The dynamic grasp looks like the static grasp, but the child moves the fingers to draw or write.
The pencil is gripped between the thumb and pointer finger and rests against the middle finger (in the tripod position).
In the quadruple position, the middle finger also grips the pencil. The ring finger is the resting finger.
The dynamic grasp is the final of the pencil grip stages.
The child does not need to move the wrist much, and the arm rests on the table.

Ideas to Support Students with Pencil Grip
Try these ideas to support your child’s pencil grip.
Play Dough
Building hand strength is essential in developing a proper pencil grip.
Squeeze, flatten, roll, and shape play dough to develop hand strength.
Tweezers, Tongs, and Clothespins
Tweezers, tongs, and clothespins involve pinching. Many of the muscles used in pinching are used in pencil grip.
Use tweezers and tongs with counters or manipulatives.
Use clothespins to decorate fabric or paper.
Spray Bottles and Squirt Guns
Spray bottles and squirt guns strengthen the index finger, an important finger in pencil grip.
You can wash windows, water plants, and do art projects with water sprayers.

Beading and Lacing
Putting pony beads on pipe cleaners is an excellent fine motor task.
You can also use lacing cards like these adorable animal ones.
Use Stubby Pencils, Chalk, and Crayons
Occupational therapists recommend using short writing utensils like broken crayons, chalk, and stubby pencils.
Because the items are short, a child cannot use the fisted grasp to hold them.
This forces the child to use a grasp involving pinching, pushing them toward the mature dynamic grasp.
Products That Can Help with Pencil Grip
These special pencil grips will help your child use the dynamic grasp.
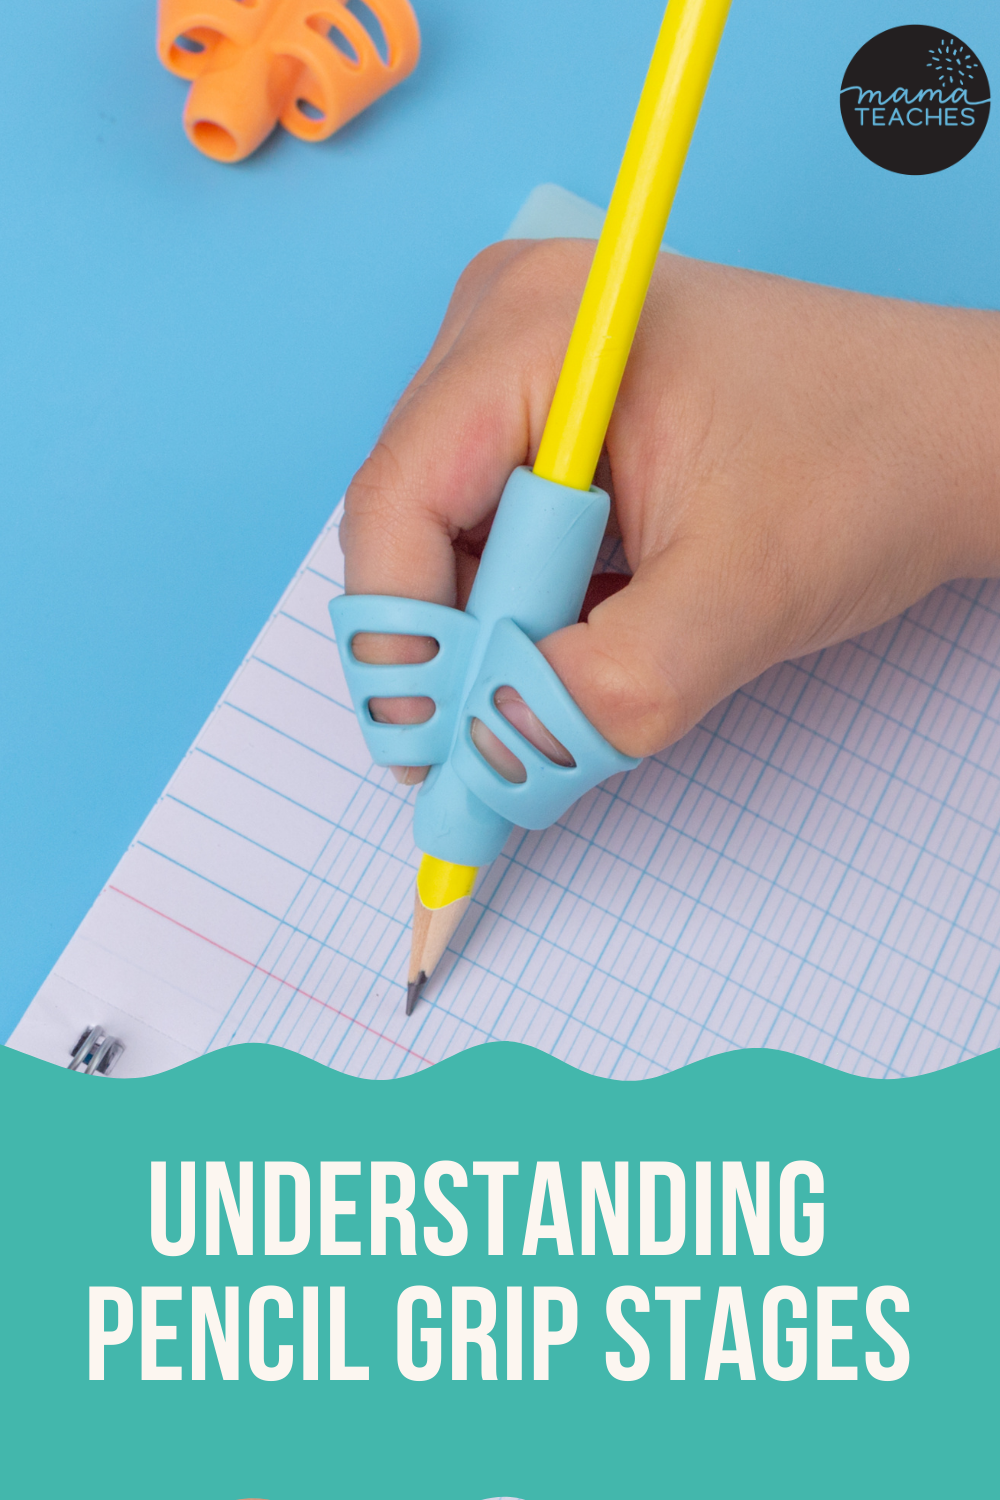
Pencil Grips with Finger Holes
These bright pencil grips have slots for your thumb and pointer finger.
This will help children develop the tripod grasp.
Three-Step Grip
This three-pack of pencil grips encourages three different grips.
The first grip has wings to prevent the fingers from crossing over each other.
The second grip still has placement locations for the thumb and index finger.
The final grip is a cushion for writing support.
Dolphin Grip
This cute pencil grip looks like a dolphin.
It has indentations for proper finger placement.
Moving Through the Pencil Grip Stages
Developing a proper pencil grip is an essential step in writing clearly and smoothly.
Help your children move through the pencil grip stages and develop a proper grip with these tools.