This article contains affiliate links to things that you might like.
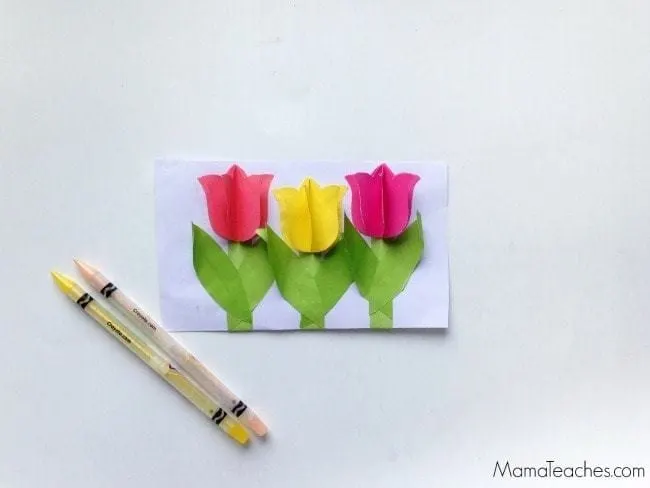
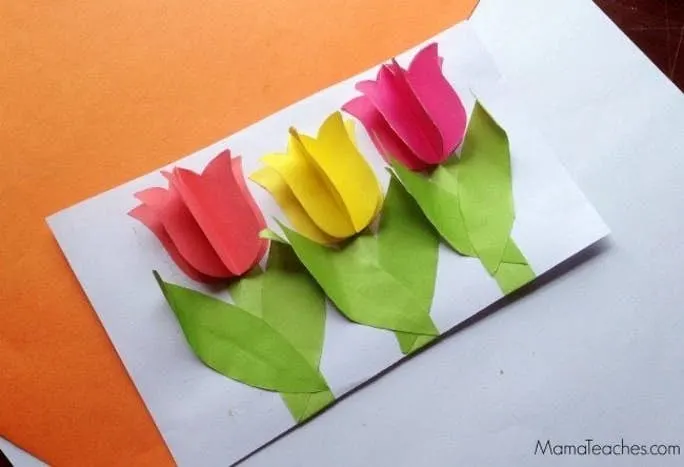
We’ve been working on this Garden Activity Guide for some gardening unit fun and this 3D Tulips Kids Craft fits in perfectly.
Not only are the flowers amazingly pretty, but the craft itself is so versatile.
You can turn the tulips into a Mother’s Day card, use them as part of a 3D wall art display, or even put them on the front of a can or box to give it a lot of added depth.
We plan on putting them on a pencil can holder for my daughter’s desk!
Making the tulips is easy, but it does require some patience, so this kids craft is probably best for children who are in middle to upper elementary school and above.
It’s cute for preschool, but I’m not sure that they’d be able to sit still long enough to make it!
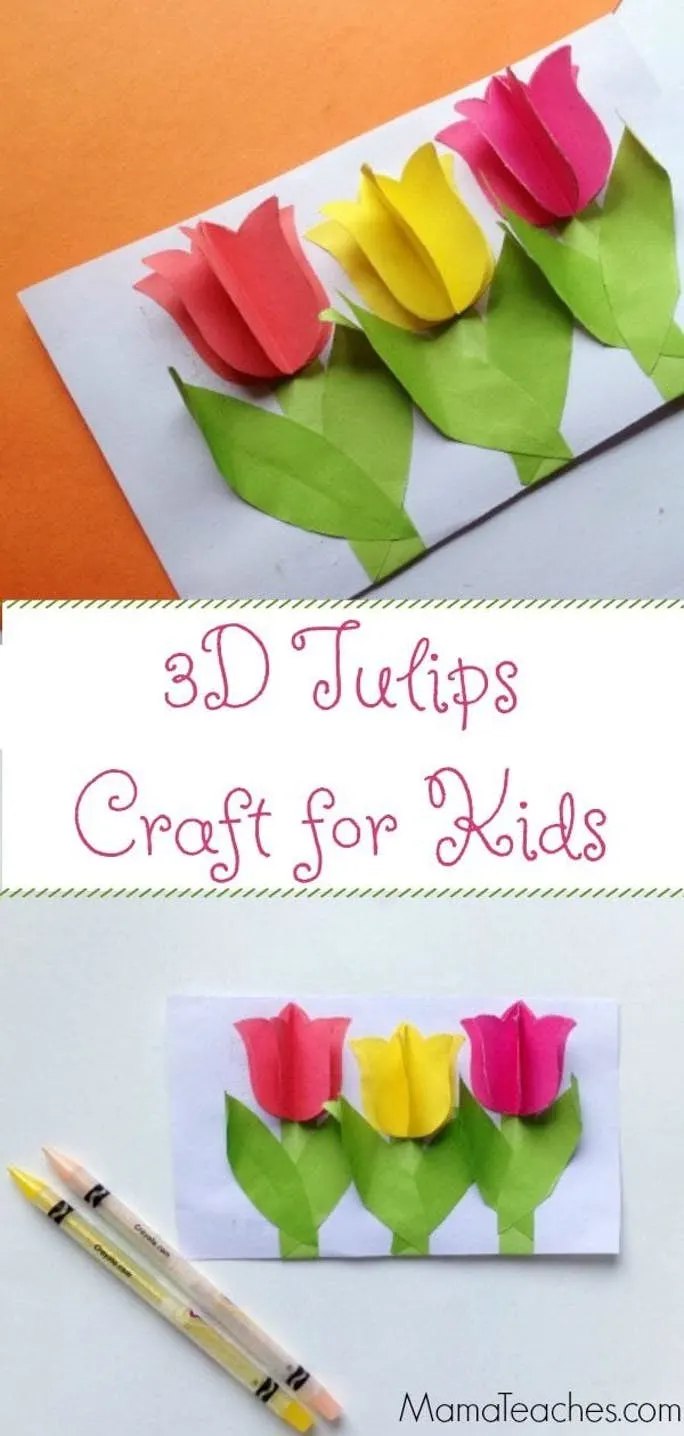
3D Tulips Craft for Kids
Materials/Supplies:
- Colorful Paper
- Scissors
- Glue
- Tulip Template
Instructions:
Step 1: Cut out the petals according to the template.
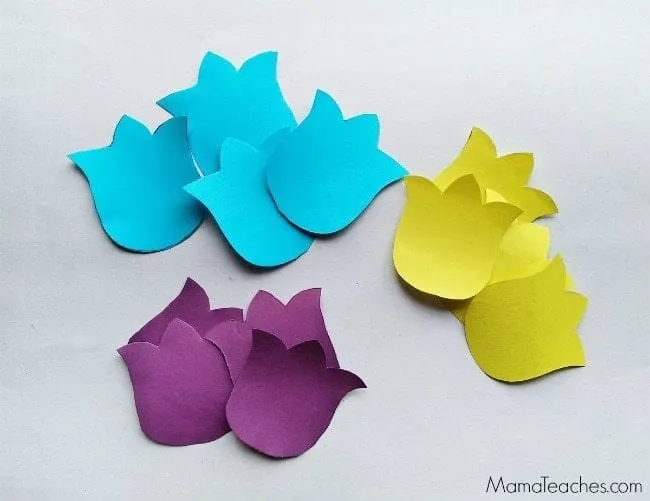
Step 2: Fold them in half.
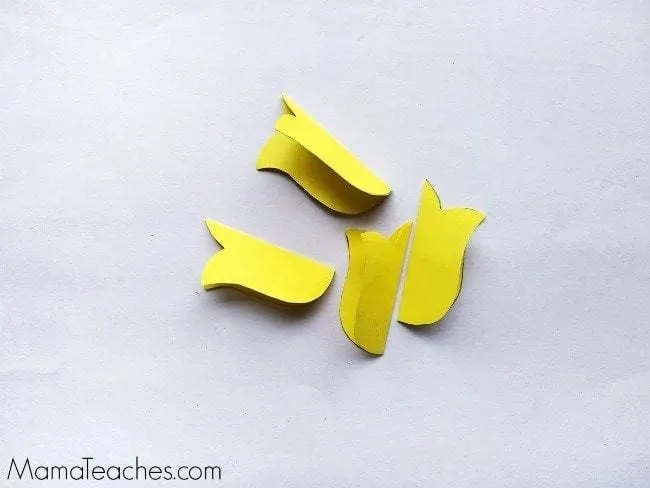
Step 3: Apply glue on one half of the petal.
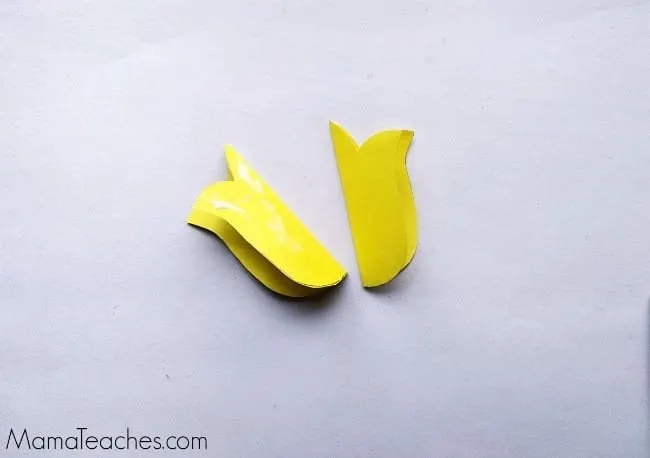
Step 4: Then take another petal and glue another half on it.
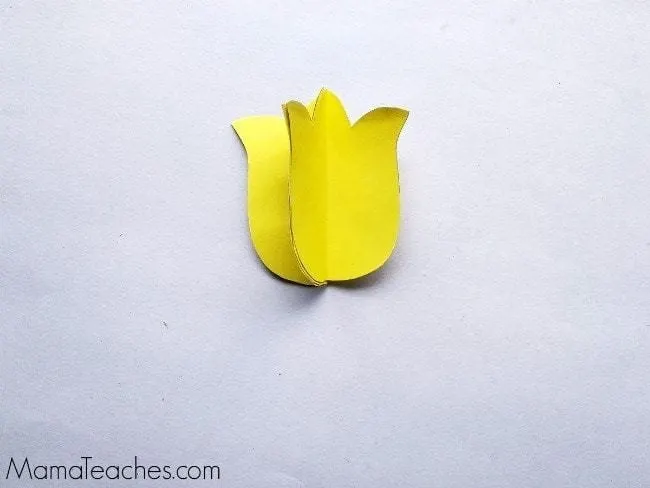
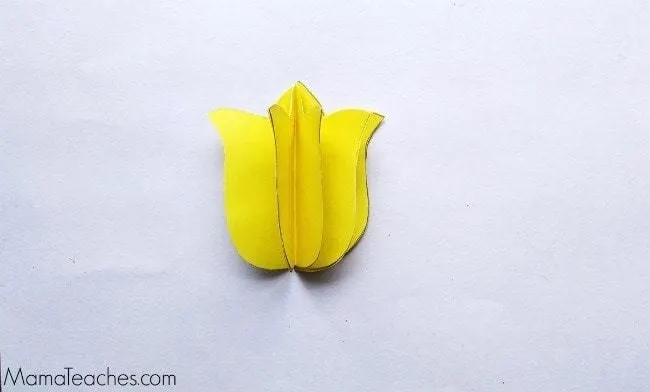
Step 5: Add the rest of the petals in the same way.
Look at your 3D Tulips!
Step 6: Cut out the stem and leaves for the flower.
Step 7: Decide where you want to put the tulip and stem.
Glue the stem on first and then glue the tulip on top of the tip of it.
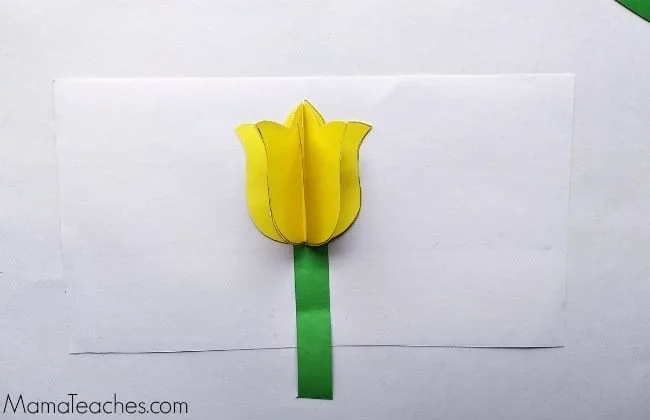
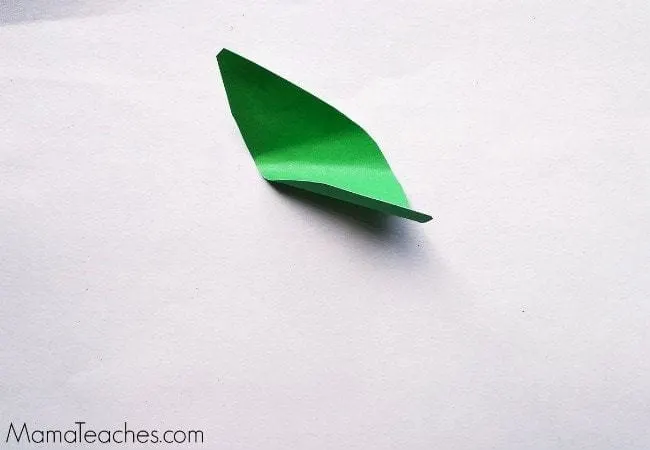
Step 8: Take a leaf, roll it a little bit to give it a 3D effect, and glue it to the stem.
Step 10: You’re finished! Enjoy!
If you make your own 3D Tulips Kids Craft, we would love to see how you did!
Be sure to post a picture below in the comments or tag us @MamaTeaches on Instagram!
