How to Use a Cricut to Cut Out Bulletin Board Pieces
Create one-of-a-kind bulletin board pieces with your Cricut machine! Learn how to cut out bulletin board pieces using your Cricut.
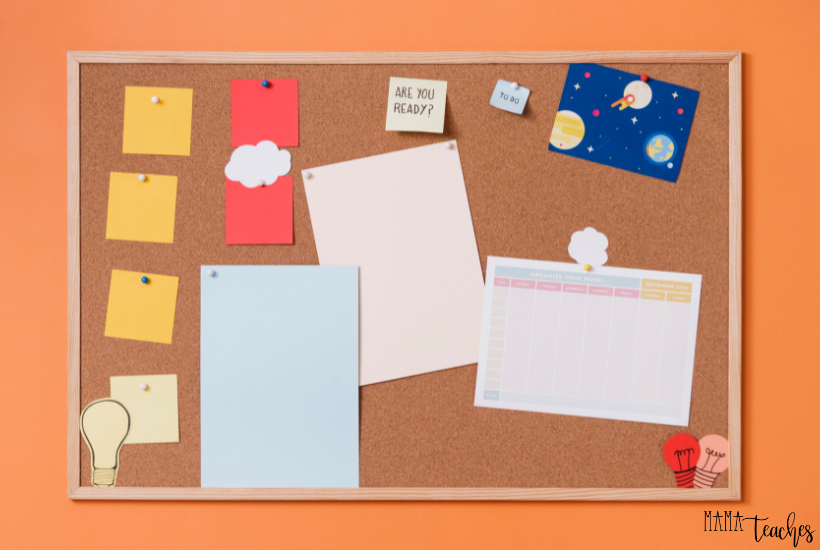
Bulletin boards are a great way to display information.
They can showcase work, a schedule, or simply add a bit of visual appeal to any space.
One of the key elements in creating an engaging bulletin board is the use of unique pieces.
To make interesting, well-cut, and neatly-shaped bulletin pieces, a Cricut machine is key!
Traditional methods of cutting out shapes can be time-consuming and imperfect.
So, the Cricut cutting machine offers a convenient and precise solution.
The process of using a Cricut to cut out bulletin board pieces can be tricky at first.
But, don’t worry; we have you covered!
Follow the steps below to help you create incredible bulletin board displays in no time.

This article contains affiliate links to things that you might like.
Cut Out Bulletin Board Pieces with a Cricut
Step 1: Gather Your Materials
Before you start, make sure you have all the necessary materials on hand and ready to use.
Cricut Cutting Machine
There are various models available, such as the Cricut Explore Air 2 or the Cricut Maker.
Choose the one that suits your needs and budget.
Cricut Design Software
The Cricut machines are operated using design software.
The most popular one is Cricut Design Space.
This software can be accessed on a computer, tablet, or smartphone.
There are also handbooks available to help guide you through the process.
Cardstock or Smart Paper
Choose cardstock or smart paper that best compliments your bulletin board theme or design.
Cutting Mat
The Cricut machine requires a cutting mat to hold the paper or cardstock in place.
Mats come in different sizes and grips.
Make sure you have a mat that is suitable for cutting bulletin board pieces.
Weeding Tool
A weeding tool helps to remove excess paper from the design.
Spatula or Tweezers
A spatula or tweezers makes removing the project from the mat easier.
Scraper or Squeegee
A scraper or squeegee works to smooth out any bubbles or wrinkles.
Step 2: Prepare Your Design
Using the Cricut Design Space software, create or select designs for your bulletin pieces.
This software provides a range of options, including shapes, letters, and images.
What’s even better is that each option can be customized to suit your personal preferences.
Before moving forward, consider the size of your bulletin board.
You’ll also want to think about the placement of the pieces to make sure they’re a good fit.
Once on the board, your pieces should be easily visible and well-proportioned.
Step 3: Load the Material and Set Up the Machine
Once you’ve selected your designs, place your chosen cardstock or paper onto the cutting mat.
Be sure to align it with the gridlines or guides.
Smooth out any wrinkles or bubbles with a scraper or squeegee to ensure a clean cut.
Then, insert the cutting mat into the Cricut machine.
Step 4: Send the Design to the Cricut
Connect your computer, tablet, or smartphone to the Cricut machine.
You’ll want to make certain that there is a stable and reliable connection before moving forward.
In the Cricut Design Space, select the appropriate settings for the material you’re using.
The software will guide you through all of the options.
You’ll choose the type of material, cutting pressure, and blade depth.
When all is good to go, click on the “Cut” or “Go” button to send the design to the Cricut.

Step 5: Cutting Process
The Cricut machine will now begin cutting the design you have selected.
It will follow the paths and lines making precise and accurate cuts.
Be patient during this process, as the machine may take some time to complete the cutting.
We really enjoy watching the machine work its magic!
Step 6: Weed and Assemble
Once the cutting is finished, carefully remove the cutting mat from the Cricut machine.
Use a weeding tool to remove any excess paper or cardstock from around the cut pieces.
Gently lift each piece from the mat using a spatula, being careful not to damage or bend them.
After weeding, arrange and assemble the pieces on your bulletin board.
Use adhesive dots, double-sided tape, or glue to secure the pieces in place.
Or, use self-adhesive magnets to make your designs moveable.
Take your time and create an eye-catching and organized display.

Step 7: Finishing Touches
Once all the pieces are in position, step back and evaluate your bulletin board.
Make any necessary adjustments or additions to enhance its visual appeal.
Think borders, ribbons, or other decorative elements to make it more engaging and attractive.
Embellishments can also be cut using a Cricut, using a similar process.
Using a Cricut to Create Bulletin Board Pieces
Using a Cricut to cut out bulletin board pieces allows you to create a one-of-a-kind board.
You can make intricate shapes, letters, and fun designs with precision and ease.
With a bit of practice and experimentation, you’ll be able to craft with a Cricut in no time.
Make the most of this fantastic cutting tool to take your bulletin boards to the next level!