How to Make Paint Chip Bookmarks for Kids
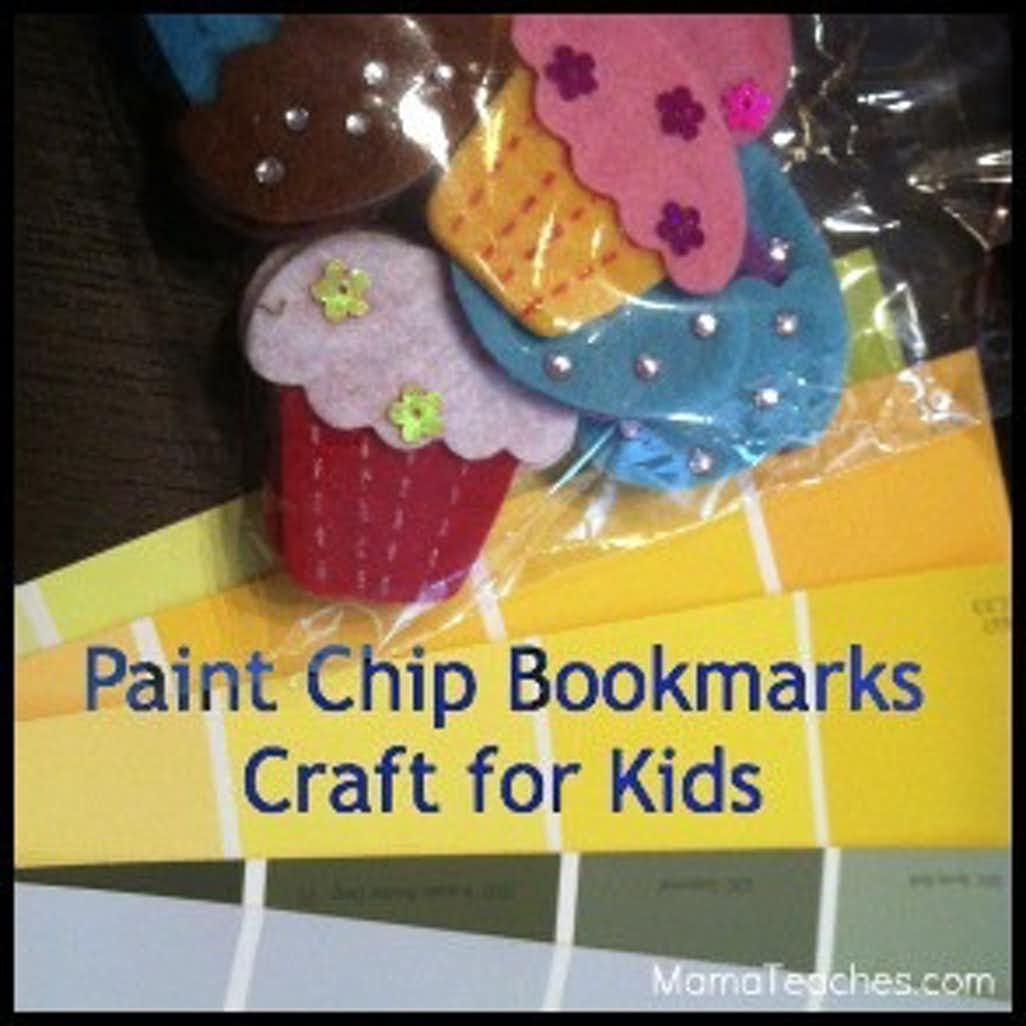
Paint chips have become a go-to craft supply, because they are free, come in a variety of shapes and sizes, and are any color you could possibly imagine. With back-to-school quickly approaching, it only seemed right to create a school-related craft. To encourage reluctant readers to have fun with their books of choice, we created paint chip bookmarks. They are perfect for your pint-sized readers and can be decorated as much, or as little, as your children would like.
Paint Chip Bookmarks for Kids
Supplies:
- Paint chip strips in a variety of colors
- Scissors
- Foam or felt shape stickers
- Ruler
- Pencil
Directions:
1.Choose a paint chip strip.
2.Use a ruler and pencil to draw a trim line along the sides to remove the name of the paint colors.
3.Carefully cut along the trim line. Hint: For a decorative edge use decorative craft scissors.
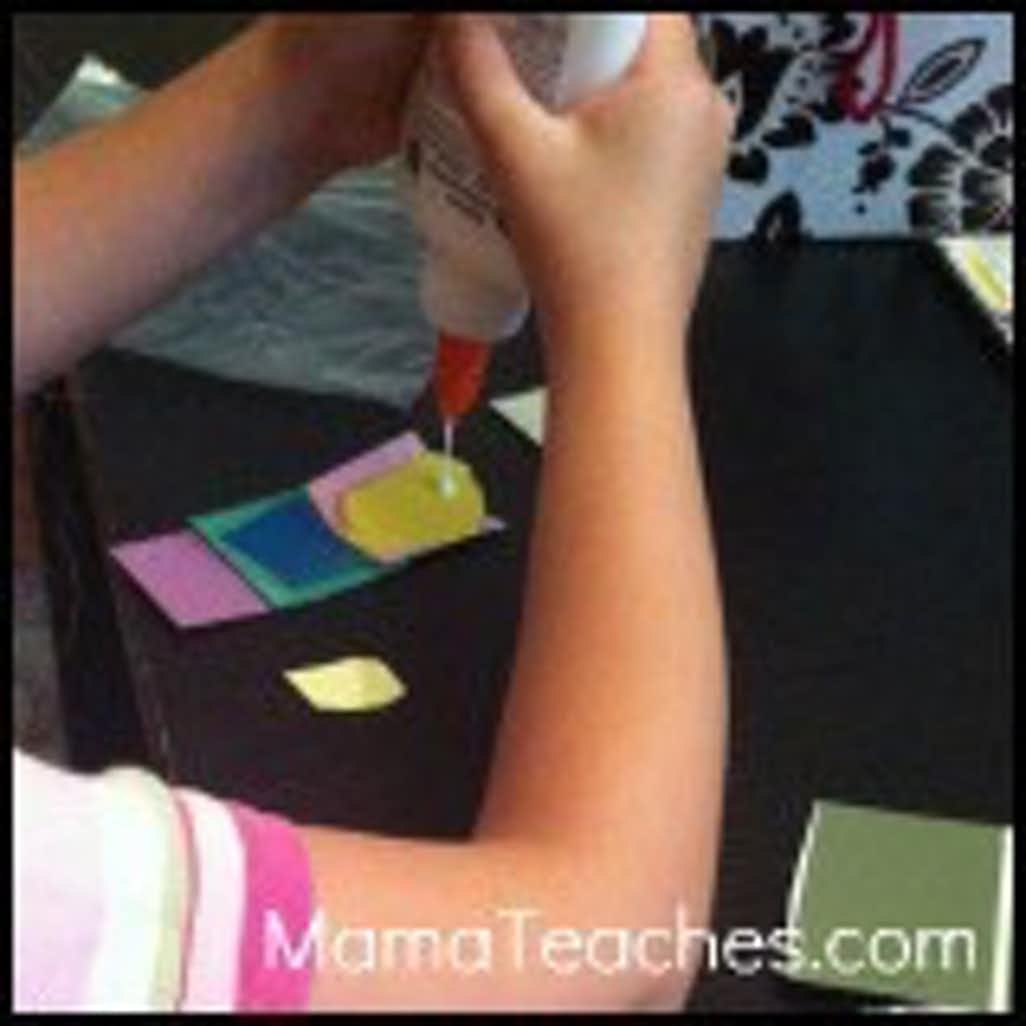
4.On one end of the paint chip strip, place the felt sticker that you will be using for decoration. Do not take the sticker backing off yet!
5.Trace around the edge of the sticker.
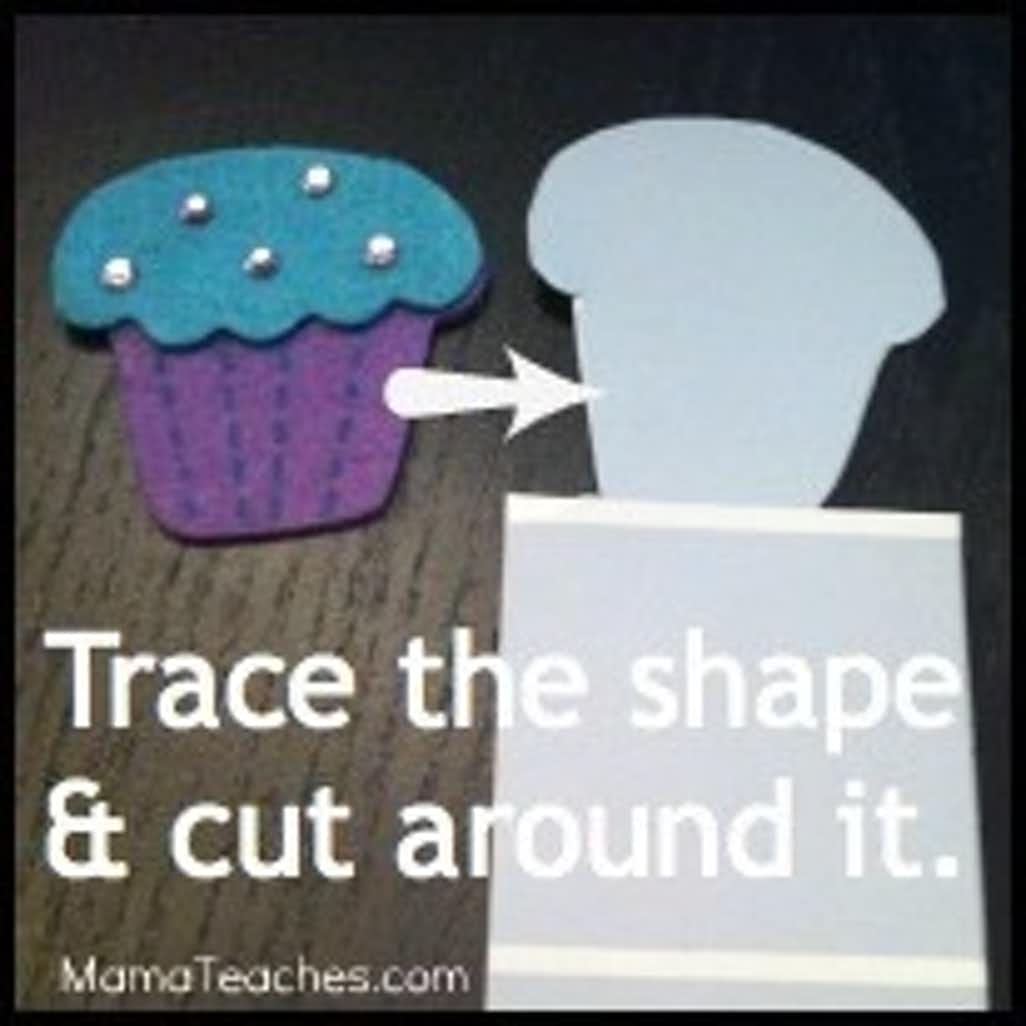
6.Cut out the area around the traced shape.
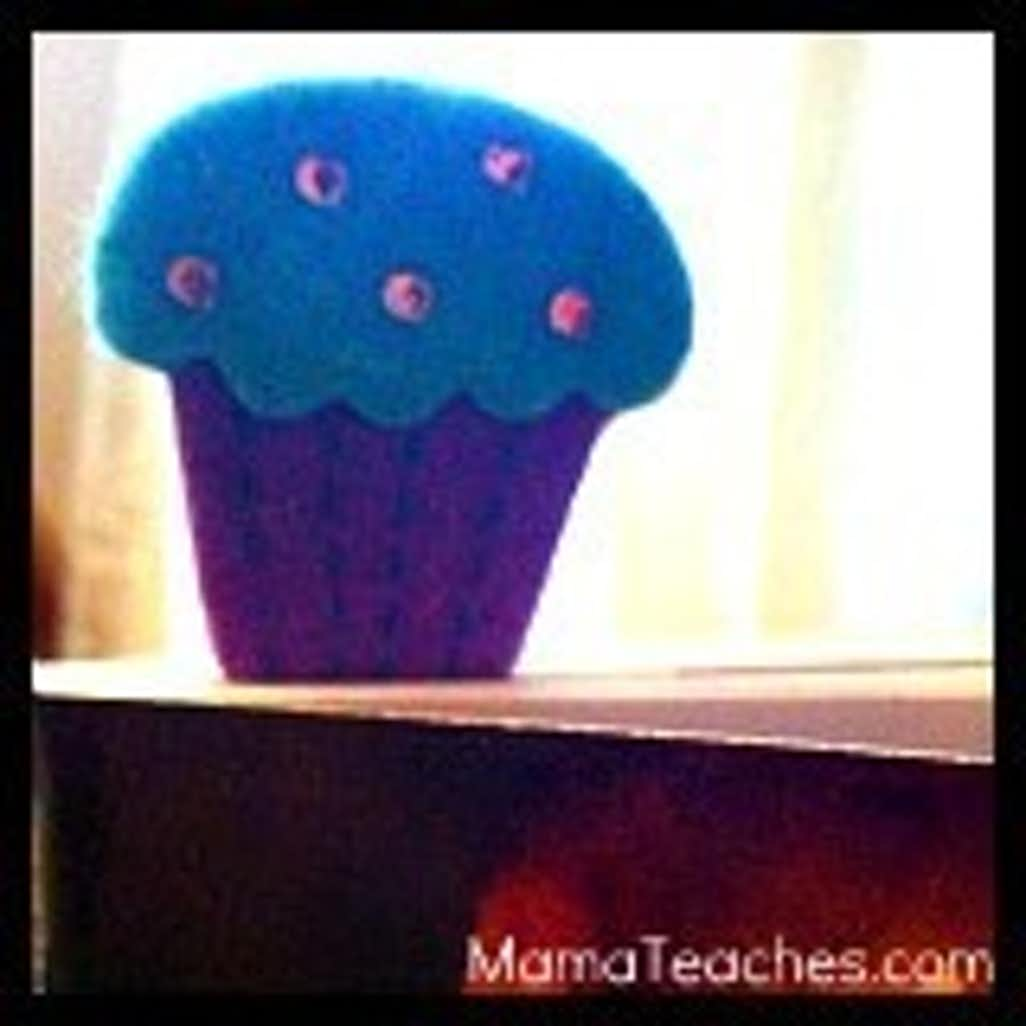
7.Place the sticker on the part of the paint chip that remains and press firmly.
8.After the sticker is firmly adhered, use the strip as a bookmark for your favorite bedtime story.
Note: Your child may want to create a completely different type of bookmark using the paint chips – let her!