This article contains affiliate links to things that you might like.
We have tons of fabric scraps in our craft supply bin, so I’m always looking for ways to turn them into something magnificent.
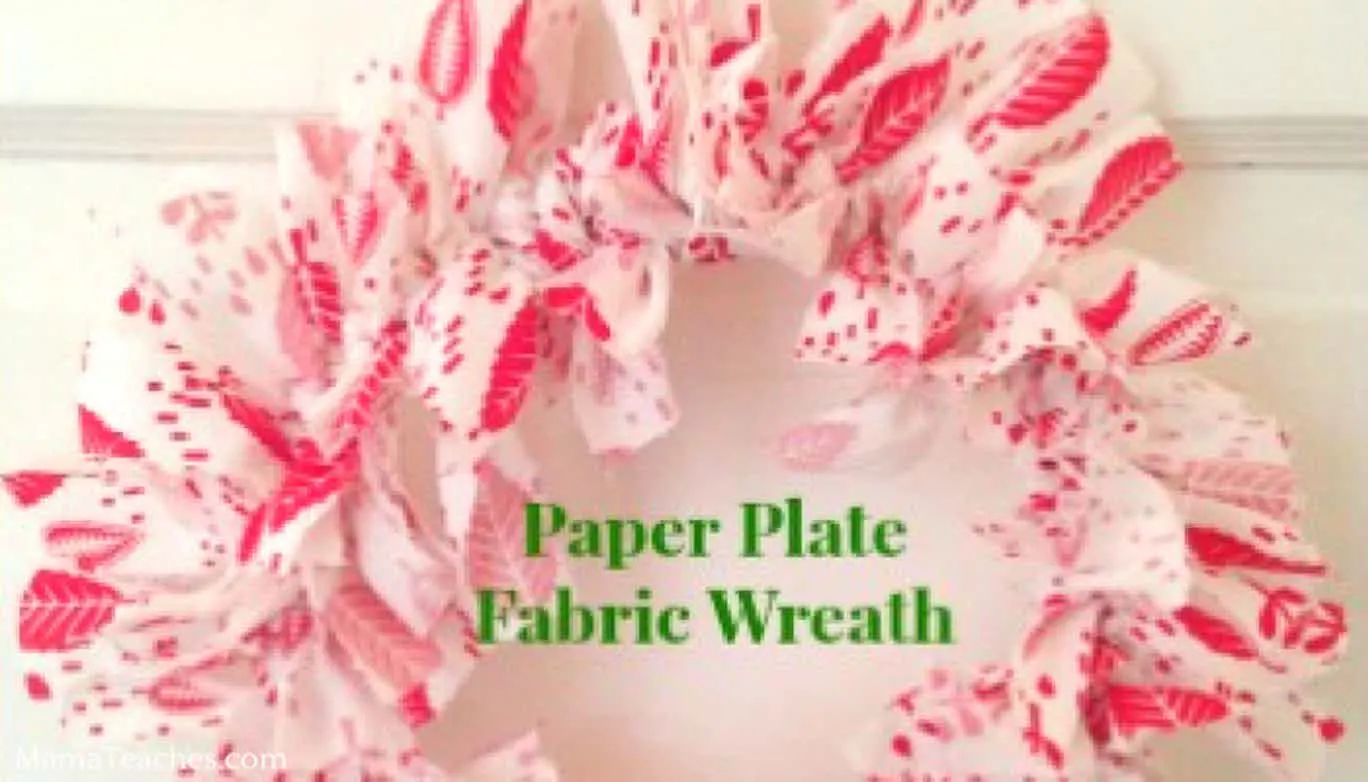
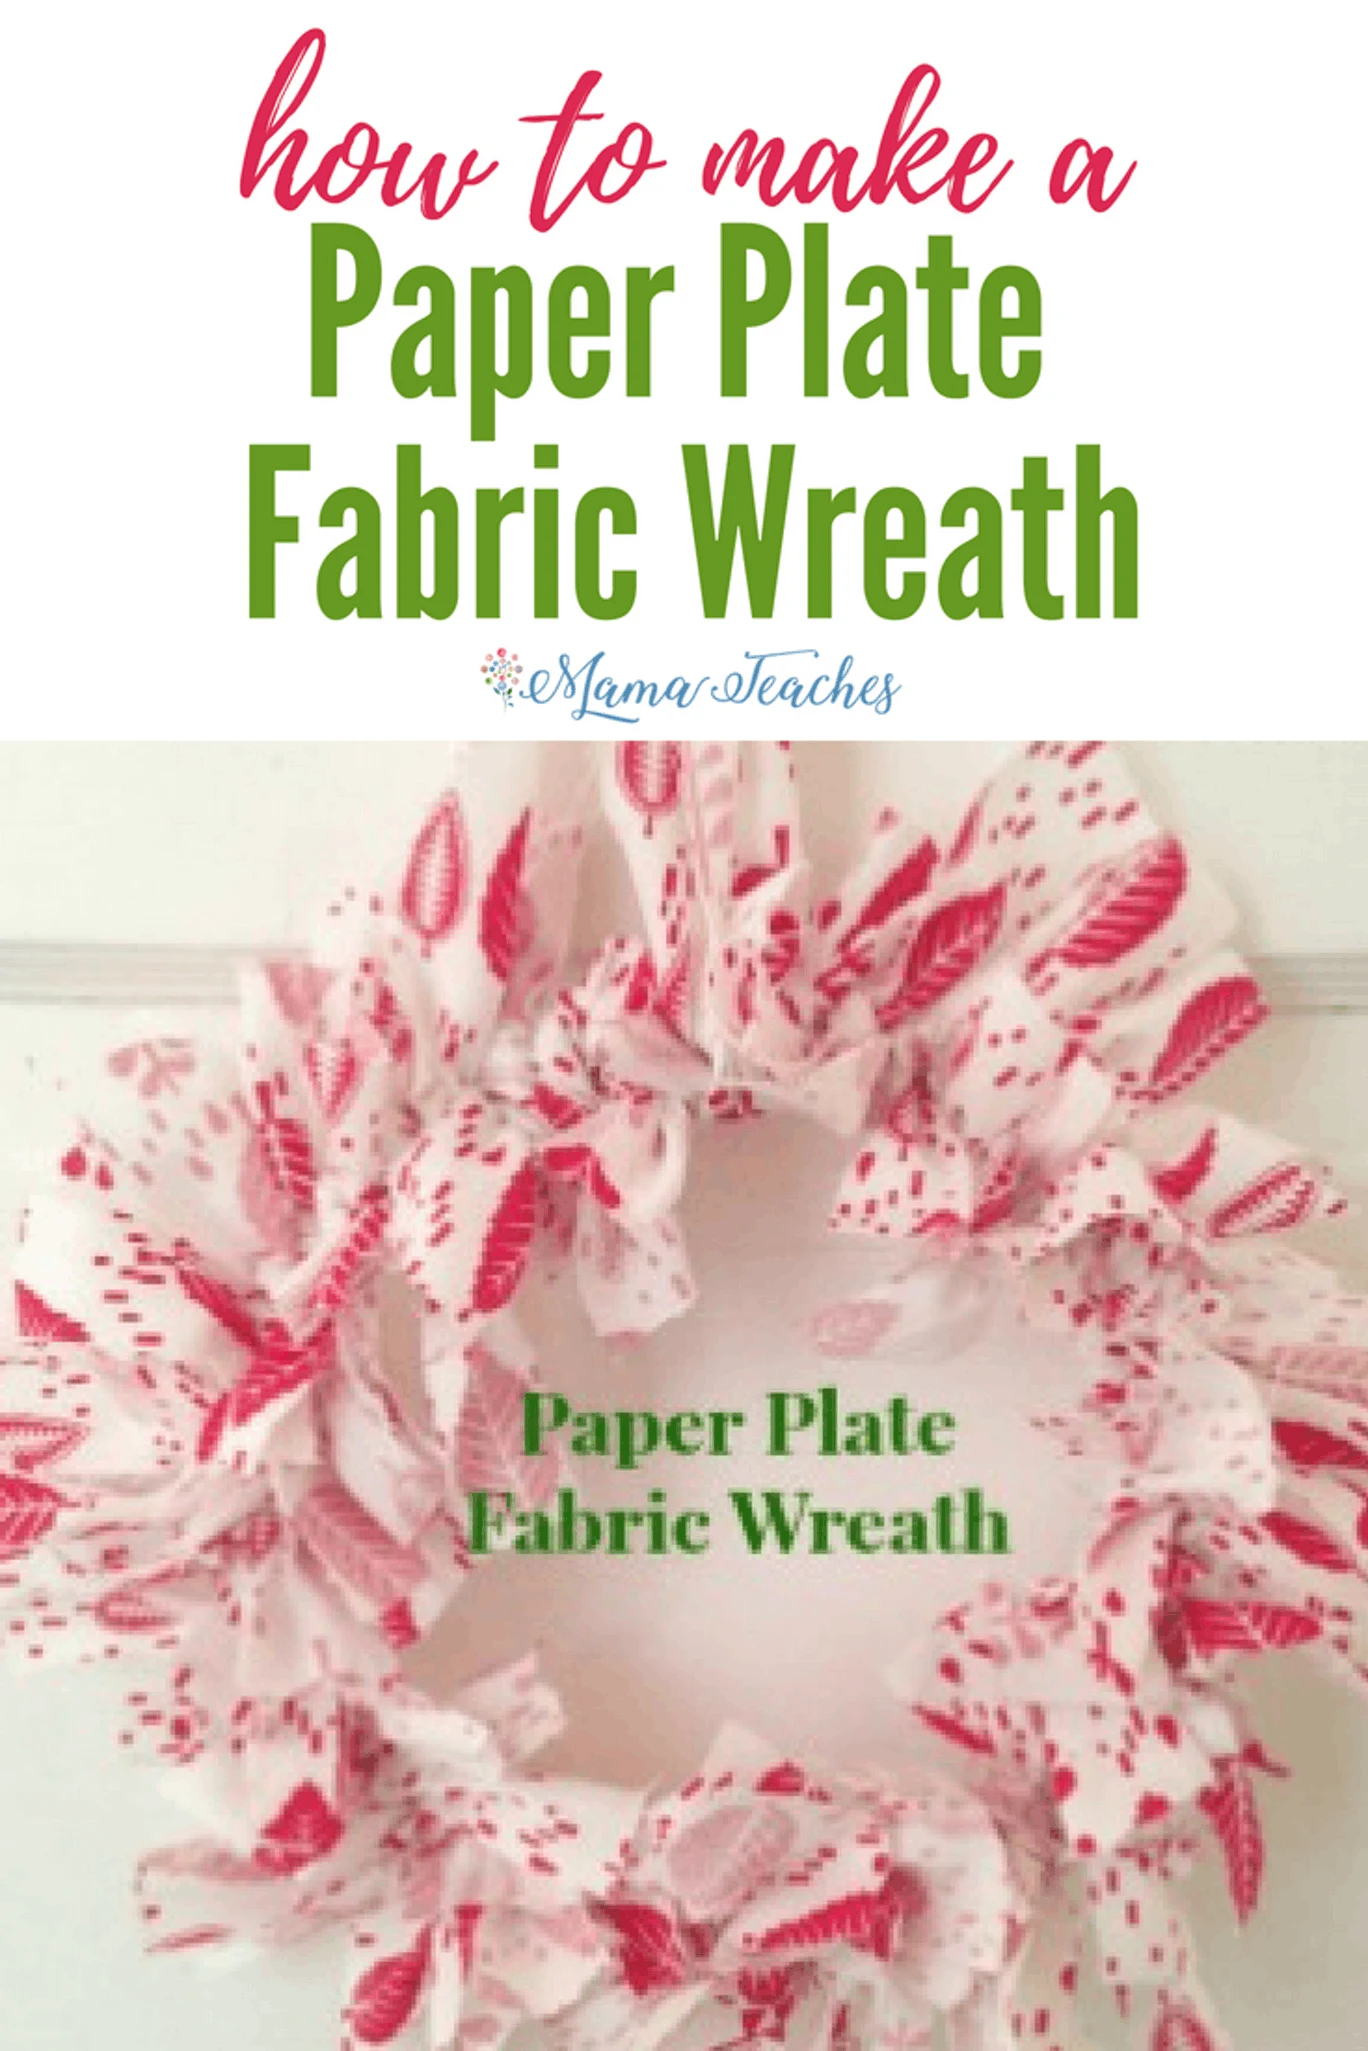
When we were looking for a simple Christmas craft that would also serve as front door decor, this Paper Plate Fabric Wreath Craft was a winner.
It’s easy to make and is actually great at helping kids improve their fine motor skills, because it requires them to tie the pieces.
Since we used what we already had on hand it didn’t cost a dime to make it.
If you don’t have fabric on hand, a flat quarter from the craft store costs under $5 and will work great!
Paper Plate Fabric Wreath
Ages: 4+ (with adult supervision)
Time: 30 minutes

Materials Needed:
- Small paper plates (the smaller, the better)
- At least 1 fat-quarter of fabric per wreath
- Scissors
- Pen
Directions:
- Cut the center out of the paper plate, leaving about a 1”-1.5” ring. Hint: To get the center out, poke a hole in the center of the plate with the pen. Then insert your scissors and cut out as far as you need to go. You may need to do this for your child.
- Cut one strip of fabric measuring 12” long by 1/2” wide. Set aside.
- Cut strips of fabric from the rest of the fat-quarter that are about 5-6” long and one-half inch wide. This does not need to be exact.
- Tie the pieces of fabric around the ring, pushing them together so there are no gaps between the pieces. We used an entire fat-quarter for the project.
- After the entire ring is covered in knotted pieces of fabric, take the long strip of fabric that you cut in Step 2 and tie it on to the wreath for the hanger. Hint: If you forgot to cut this strip, you can use yarn or ribbon as a hanger instead.
- Hang on your Christmas tree, a door, mirror, or wall and enjoy!
If you make a Paper Plate Fabric Wreath, snap a picture and share it with us!
Post a picture below in the comments or tag us on Instagram @MamaTeaches!
We’d love to see what you’ve made!
