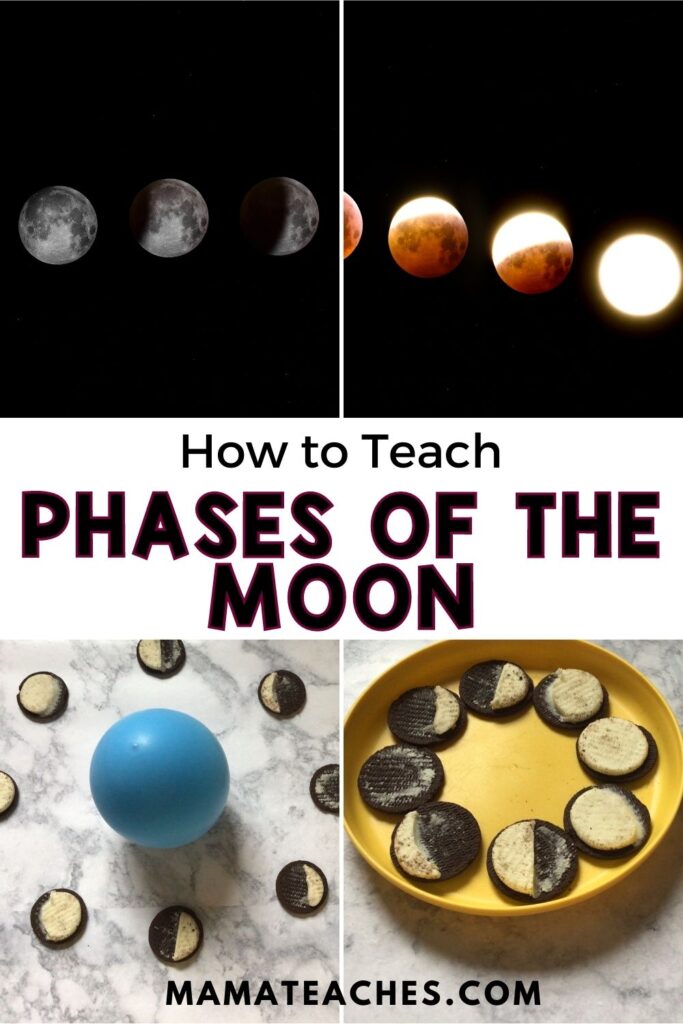
How to Teach Phases of the Moon
Create an out-of-this-world lesson with this fun hands-on moon phases activity. Kids love it when food is brought into their learning.

Any chance to turn a lesson hands-on is sure to be a win in many kids’ books.
When lessons come off the page and can be manipulated, kids have a memorable way to remember what they are learning.
This moon phases activity has the bonus of a tasty snack when the activity is complete.
Why Teach the Phases of the Moon
Kids get to witness the beauty of the moon and the different moon phases each night.
They are naturally curious about why the moon mysteriously changes shape.
Feed into this curiosity by teaching the phases of the moon.
Moon phases help to show kids that the Earth is in motion and that nature is constantly changing.
Learning about moon phases is a great introduction to astronomy, season changes, tidal changes, and varying lengths of daylight and night.

What are the Phases of the Moon
The phases of the moon start with a new moon.
Next, in order, are the waxing crescent, first quarter, waxing gibbous, full moon, waning gibbous, third quarter, and waning crescent.
Then the cycle repeats, starting with a new moon.
Teaching Phases of the Moon
Make it Visual
Print off pictures of the phases of the moon. This is a great reference point when kids ask, “what are the phases of the moon again?” for the tenth time ;).
A cut-and-glue moon phases activity would work great to make the phases of the moon visual.
Use This Phrase
One of the best tips for how to teach moon phases is to teach this phrase, “light on the right, it is going to get bright.”
This means if the part of the moon that is lit up is on the right, it is a waxing moon, and the moon will continue to look like it is getting bigger until it is even brighter as a full moon.
Make it Hands-On
Bring a hands-on moon phases activity into your astronomy unit to help you see what students understand the concept and help solidify learning.
Teach Phases of the Moon Vocabulary
Waxing means working towards a full moon. Think of it like wax piling up, making it look bigger.
Waning means working towards a new moon. It’s the opposite of waxing.
Crescent is the one that looks like a banana
Gibbous has the banana piece missing
Quarter looks like the moon is split in half. This may be tricky for some to wrap their minds around, but remind them that the other two quarters of the moon are on the back side that we can’t see.
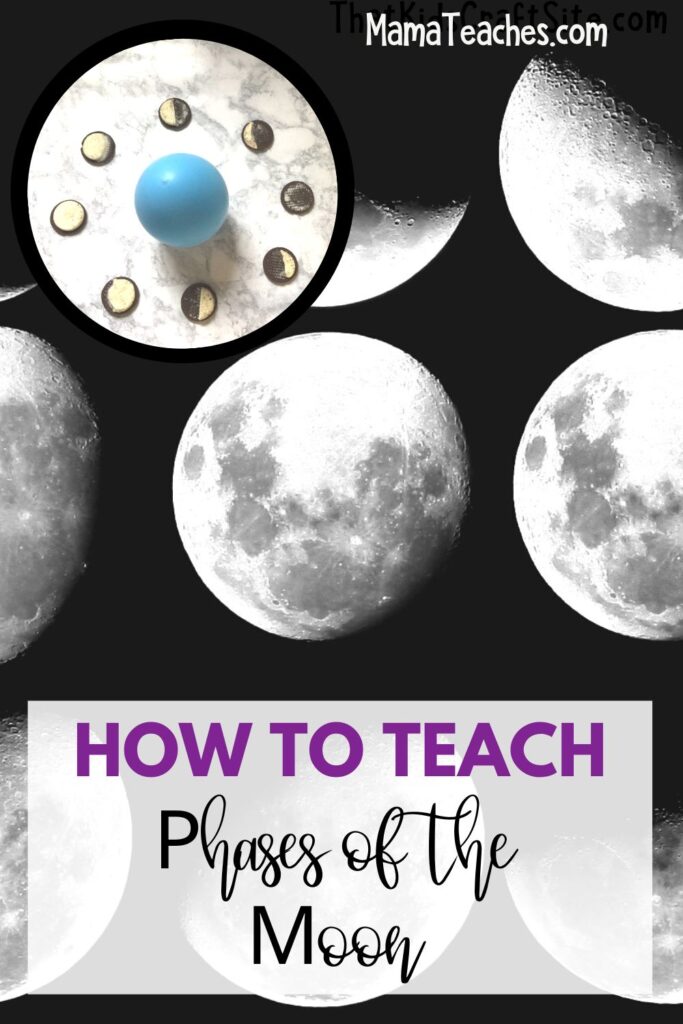
Phases Opposite Make a Full Moon
When doing a moon phases activity, point out that the way to check if the activity was done correctly is to see if the phases opposite each other in the circle add up to be a full moon.
For example, the first quarter and the third quarter are opposite each other in the diagram.
Together they would make a full circle of light.
The waxing crescent is opposite the waning gibbous. Again, it would create a full circle of light.
Moon Phases Activity
Items Needed
-Chocolate Sandwich Cookies (like Oreos)
-Popsicle stick
-Plate
-items for the Sun and Earth, optional
How to Do the Oreo Moon Phases Activity
1. Hand out four cookies to each person.
2. Gently twist off the top of the cookie so all the cream is on one side and there is a bare cookie. Do this to all four cookies.
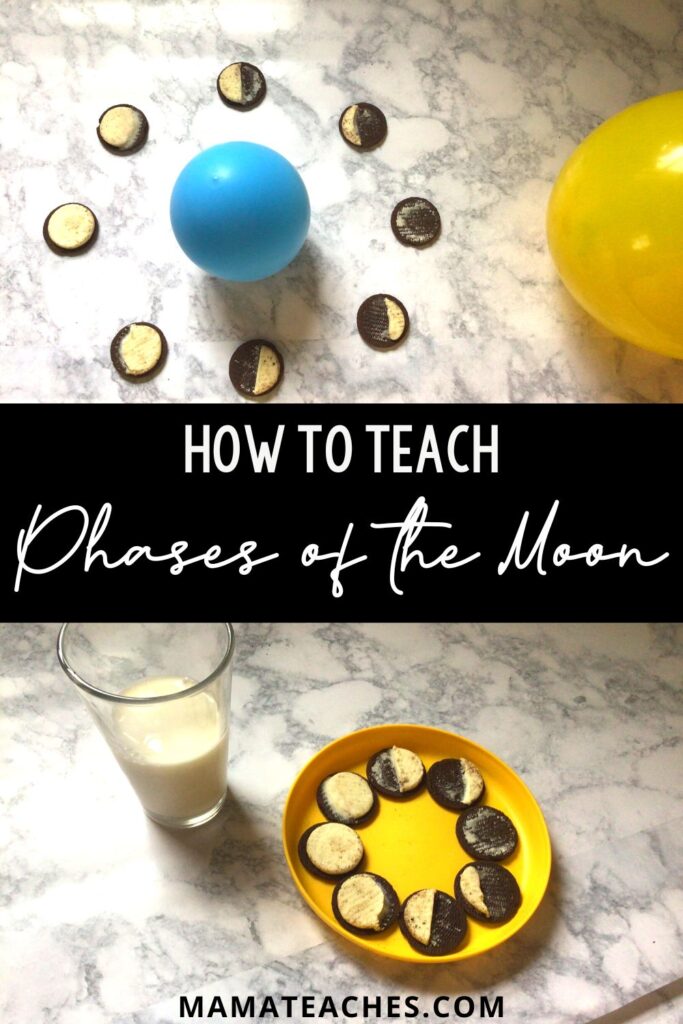
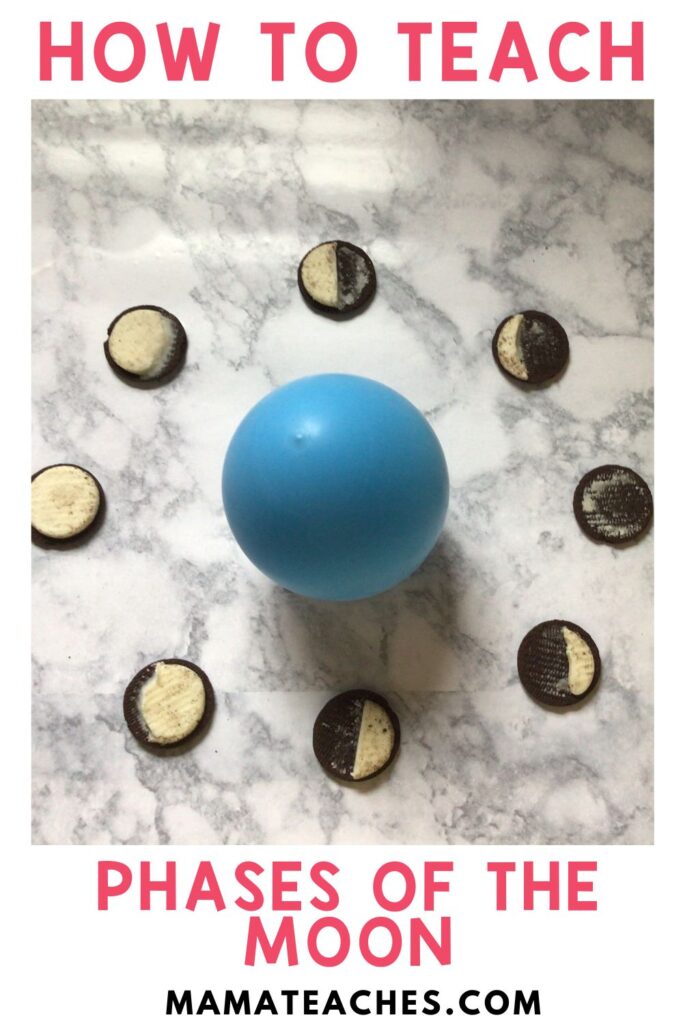
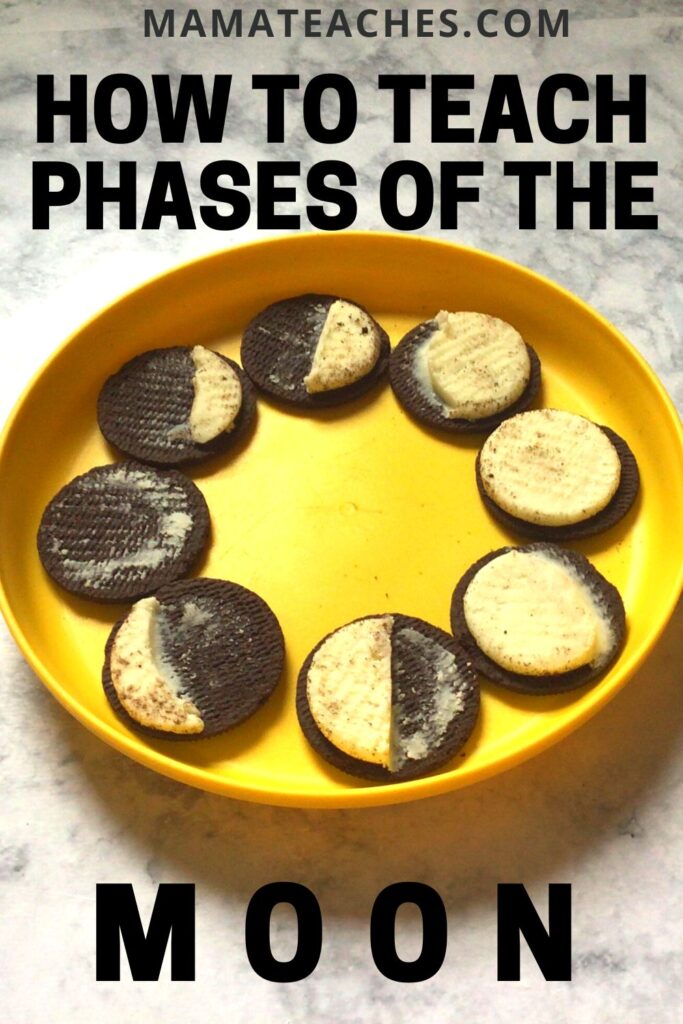
3. Imagine the plate is a clock. Place a bare cookie (without cream) on the plate where the three would be on a clock. This is the new moon.
4. Take one of the cookies with the cream, and using a popsicle stick carefully draw a line to look like a banana. You are creating the waxing crescent moon.
5. Gently, trying to keep the cream in one piece, lift off all the cream that isn’t the banana.
6. Set the cream on a bare cookie to the side.
7. Put the cookie with the cream that looks like a banana where the two would be on the clock. Be sure to have the cream part on the right side of the cookie.
8. Grab a new cookie with cream and gently use the popsicle stick to draw a line splitting the cream in half.
9. Use the popsicle stick to lift half of the cream off the cookie gently.
10. Put the cream on a bare cookie.
11. Place one of the cookies where the 12 would be on a clock. The cream should be on the right side. Put the other cookie at the 6 with the cream on the left. These are the quarter moons.
12. Take the cookie from before with the banana-shaped cream missing and put it where the ten would be. Again, the cream should be on the right side of the cookie. This is the waxing gibbous.
13. Place a full-cream cookie where the nine is on a clock. This is the full moon.
14. The last two moon phases are waning crescent and waning gibbous. Use the popsicle stick to make the banana shape again.
15. Lift off the big piece of cream and place it on the last blank cookie.
16. Put the banana-shaped cream cookie (waning crescent) where the four on the clock would be. Place the last cookie, the waning gibbous, where the eight would be. For both of these, the cream should be on the LEFT.
17. Add in the sun next to the new moon. Put the Earth in the middle of the plate.
Moon Phases
How to teach moon phases can seem a bit overwhelming at first.
However, pairing a “What are the Moon Phases” lesson with a moon phases activity is a great way to get your students thinking about the moon’s phases and creating them, too!
Cookie Moon Phases Activity
Teach your kids about the phases of the moon with this simple and tasty activity!
Materials
- Chocolate Sandwich Cookies (like Oreos)
- Popsicle stick
- Plate
- items for the Sun and Earth, optional
Instructions
1. Hand out four cookies to each person.
2. Gently twist off the top of the cookie so all the cream is on one side and there is a bare cookie. Do this to all four cookies.
3. Imagine the plate is a clock. Place a bare cookie (without cream) on the plate where the three would be on a clock. This is the new moon.
4. Take one of the cookies with the cream, and using a popsicle stick carefully draw a line to look like a banana. You are creating the waxing crescent moon.
5. Gently, trying to keep the cream in one piece, lift off all the cream that isn't the banana.
6. Set the cream on a bare cookie to the side.
7. Put the cookie with the cream that looks like a banana where the two would be on the clock. Be sure to have the cream part on the right side of the cookie.
8. Grab a new cookie with cream and gently use the popsicle stick to draw a line splitting the cream in half.
9. Use the popsicle stick to lift half of the cream off the cookie gently.
10. Put the cream on a bare cookie.
11. Place one of the cookies where the 12 would be on a clock. The cream should be on the right side. Put the other cookie at the 6 with the cream on the left. These are the quarter moons.
12. Take the cookie from before with the banana-shaped cream missing and put it where the ten would be. Again, the cream should be on the right side of the cookie. This is the waxing gibbous.
13. Place a full-cream cookie where the nine is on a clock. This is the full moon.
14. The last two moon phases are waning crescent and waning gibbous. Use the popsicle stick to make the banana shape again.
15. Lift off the big piece of cream and place it on the last blank cookie.
16. Put the banana-shaped cream cookie (waning crescent) where the four on the clock would be. Place the last cookie, the waning gibbous, where the eight would be. For both of these, the cream should be on the LEFT.
17. Add in the sun next to the new moon. Put the Earth in the middle of the plate.