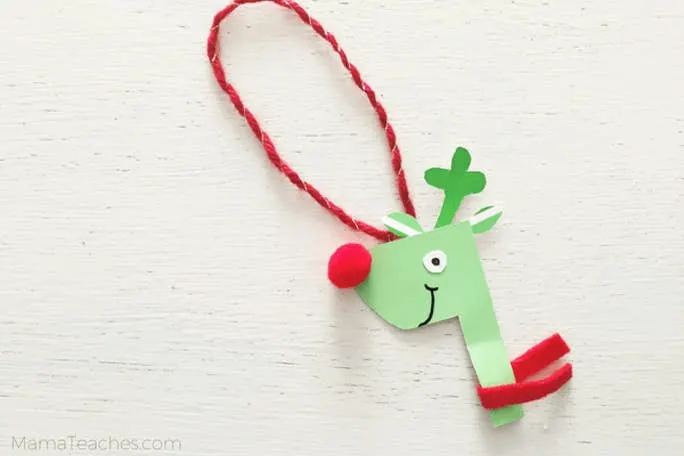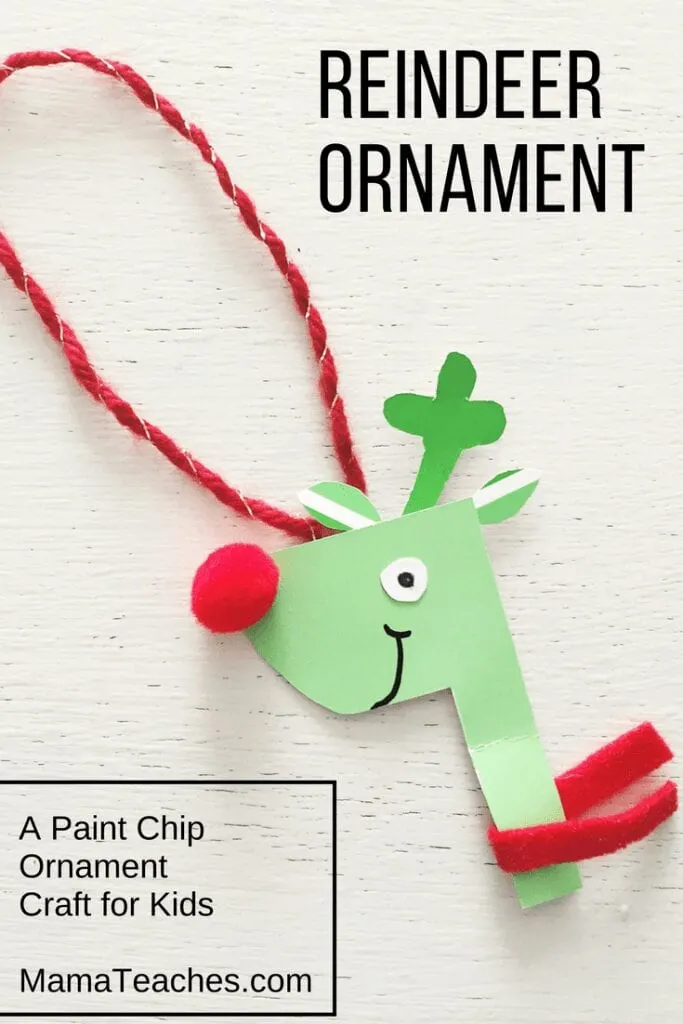
Since the trees were so quick to make, we decided to experiment with some of the other chips. Enter the Paint Chip Reindeer Ornament! He’s quick and easy to make, and, since we made him with free paint chips and supplies we already had on hand, he was free!
paint Chip Reindeer Ornament
HOW TO MAKE THE PAINT CHIP REINDEER ORNAMENT
Ages: 4+ (with adult supervision)
Time: 15 minutes
Materials Needed:
- Paint chip
- Scissors
- Yarn or ribbon
- Tacky Glue
- Felt Strip
- Red pompom
- Fine Point Permanent Marker

Directions:
1.Cut a reindeer head from a piece of paint chip. Think of it like the lower letter “b”, but with a flat bottom.
2.Cut out two antlers and two ears from different shades on the same chip.
3.Cut out a small circle for the eye, using the white back of the paint chip as the front of the eye piece.
4.Glue on the antlers, ears, and eye.
5.Draw a small circle in the center of the eye and a mouth on the face using the marker.
6.Glue the red pompom on the tip of the face for the nose.
7.Fold the strip of felt in half and wrap it around the reindeer’s neck for the scarf. Glue it in place.
8.After the glue has dried, fold the length of yarn (approximately 6-inches) in half and tape it to the back of the reindeer’s head.
9.Hang on your Christmas tree and enjoy!

Did you make a Paint Chip Reindeer Ornament? Share your beautiful work with us by posting a picture on either our Quick Kids’ Crafts or Mama Teaches Facebook pages!
