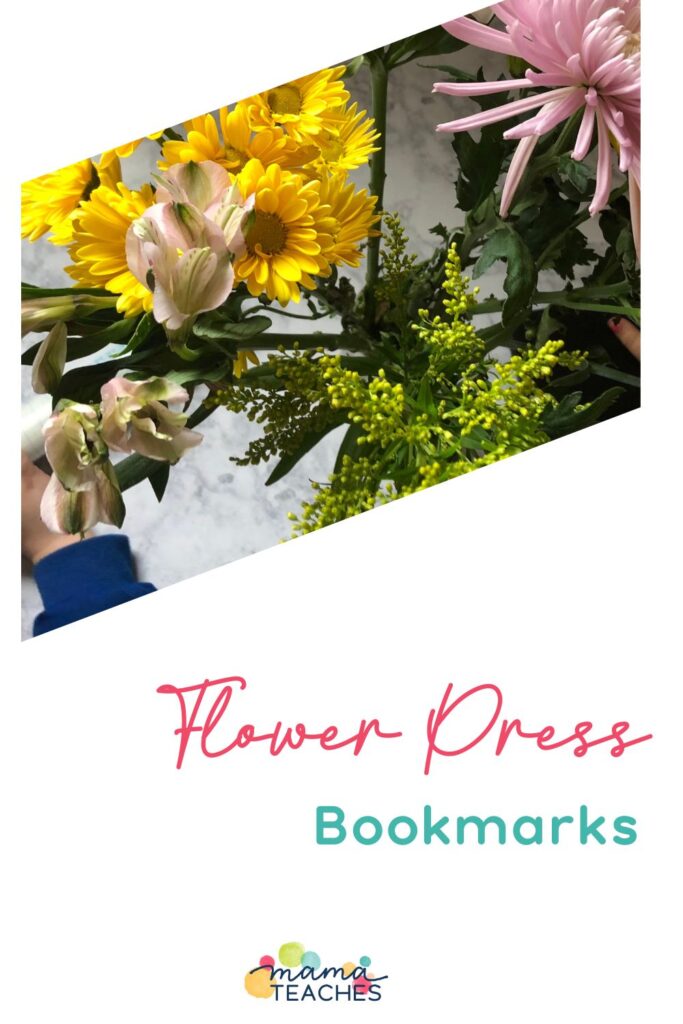
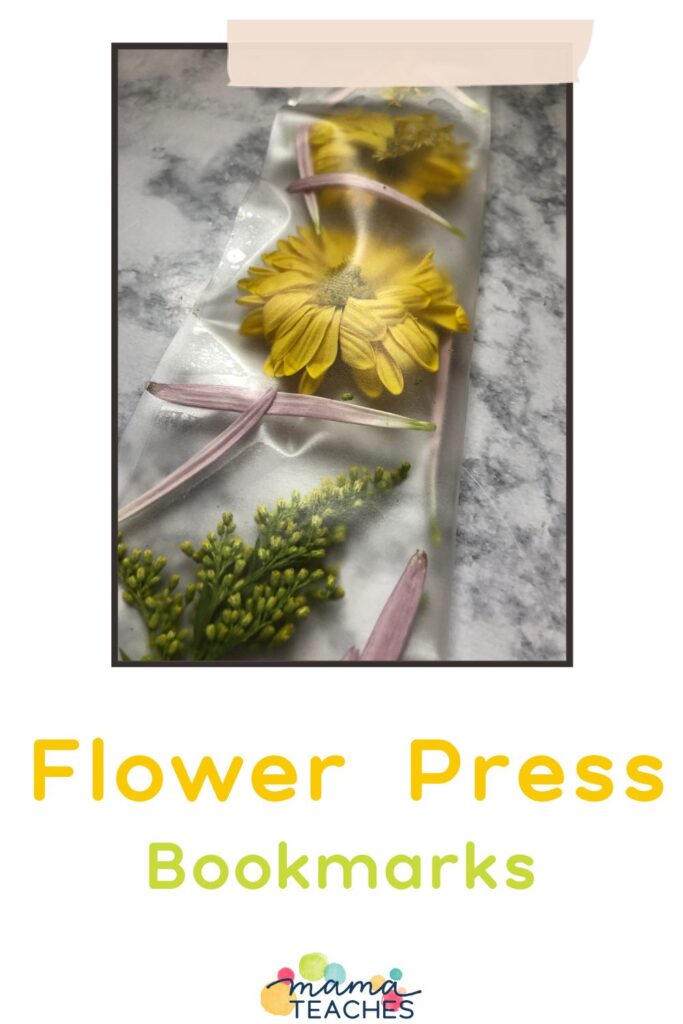
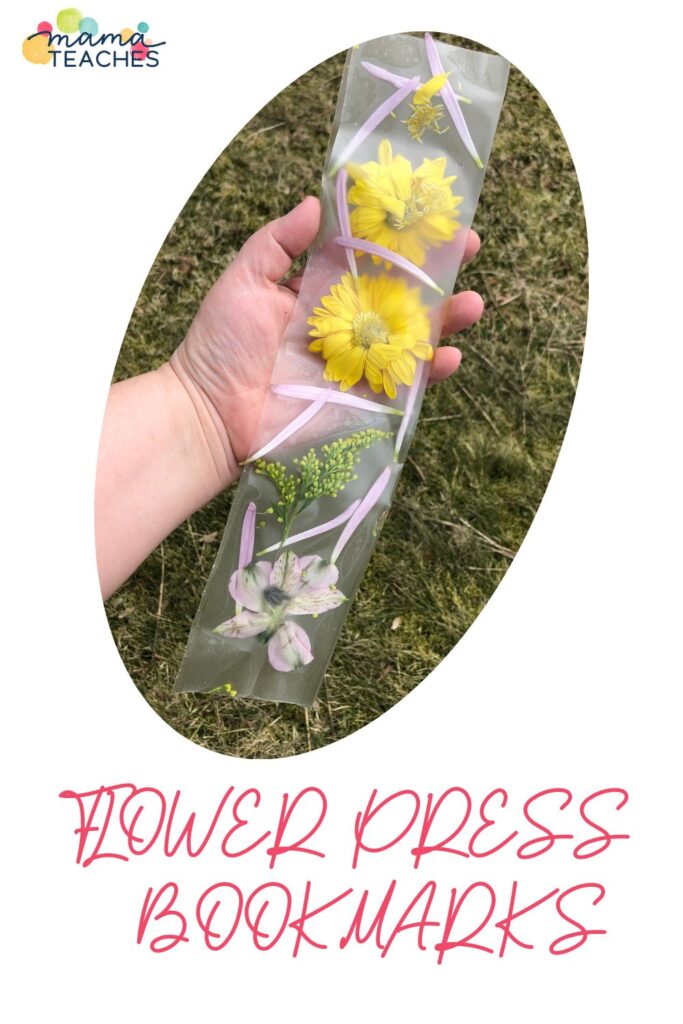
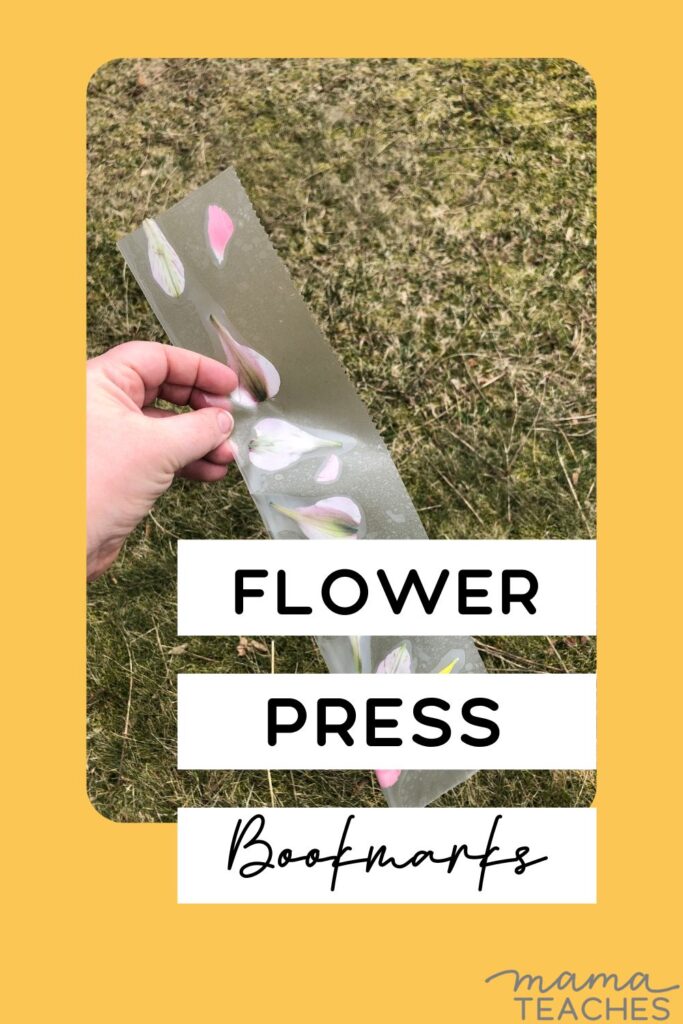
Flower Press Bookmarks
Learn how to make incredible flower press bookmarks. Even the smallest kids can help make this cute outdoor craft.
Nature Activities
Getting kids to appreciate nature’s beauty isn’t always easy. By starting with a nature walk, little ones will be looking at everything that is available in nature for their flower press bookmarks and taking in nature’s beauty.
Making decisions about what to include and critically thinking if an item could be used are both skills being worked on in this nature activity. A log wouldn’t lay flat, nor would it be able to fit inside of the flower press bookmarks, although some kids may try.
By getting kids into nature, it is setting them up for success. Even small increments of time help improve mood, mental clarity, and memory.
This article contains affiliate links to things that you might like.
Items Needed for Flower Press Bookmarks
-Items from nature (flowers, leaves, etc.)
-parchment paper and a stack of books (if pressing items)
How to Make Flower Press Bookmarks
1. Go on a nature walk or walk around the yard. Collect items that are flat (or can be flattened). If using full flowers instead of petals, you may need to lay them between parchment paper and in between stacks of heavy books to help flatten the flowers (for about two days).
2. Cut out a rectangle from the contact paper (keeping the backing on). The rectangle’s length (long side) should be however long you want the bookmark to be. The rectangle’s width (short side) should be about 4 inches.
This will make a 2-inch wide bookmark.
3. Fold the contact paper in half the long way, so the width goes from four inches to two inches. The length should not change.
4. Peel the contact paper backing back until the fold. Only half of the backing should be peeled off.
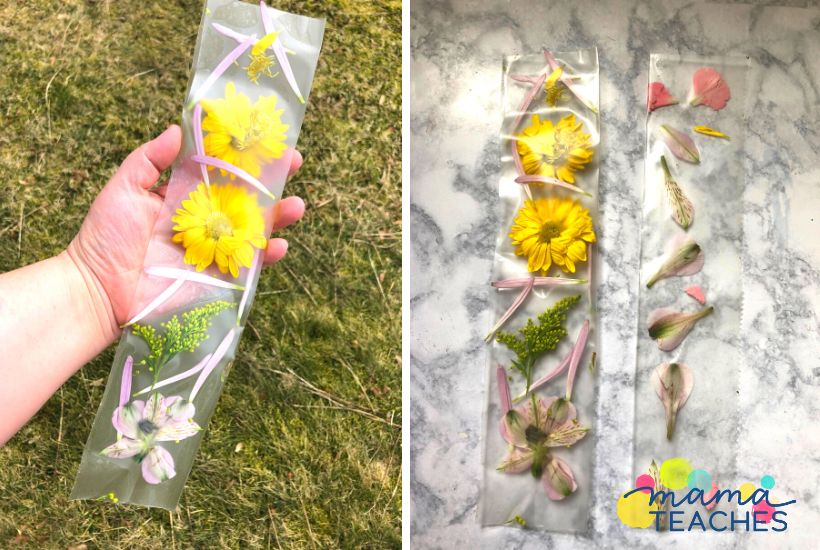
5. Arrange flowers on the contact paper. Place them face down onto the sticky part of the contact paper.
6. Once the nature items are arranged as desired, peel off the rest of the backing of the contact paper.

7. Fold the contact paper over, so the flowers are sealed between the sticky pieces of contact paper.
8. Starting at the fold, push down on the contact paper. Then, continue to gently push down and work towards the long edge to release air bubbles from between the contact paper.
9. Use your flower press bookmark to save your spot in your favorite book. Or give it as a gift!
Make it Your Own
Add a Tassel
Once the flower press bookmark is made, hole punch a hole near the top of the bookmark.
Cut a piece of ribbon and fold it in half. Thread the loop through the hole.
Feed both ends of the ribbon through the loop to create a tassel.
Make a Design or Pattern
Instead of randomly placing the flowers, come up with a pattern, shape, or design to put the flowers in. Hearts, letters, or color patterns are only the beginning.
Add a Quote or Note
While adding the flowers to the flower press bookmarks, put in a note or a quote on a piece of paper. The contact paper will seal in the note or quote just as it seals in the flowers.

Flower Press Craft
These flower press bookmarks are a great addition to a gift basket or a card. They are fun to make and look beautiful.