This article contains affiliate links to things that you might like.
We’ve been studying ladybugs a lot lately and currently have a ladybug habitat in full hatching swing.
It’s that creepy-cool science that we love with a healthy dose of “if those things get out, we’re going to have a problem.” Know what I mean?

This post contains affiliate links.
So, between reading books like Ladybug Girl by Jacky Davis and stocking up on ladybug facts, we, of course, needed to make a quick kids’ craft to go along with our study.
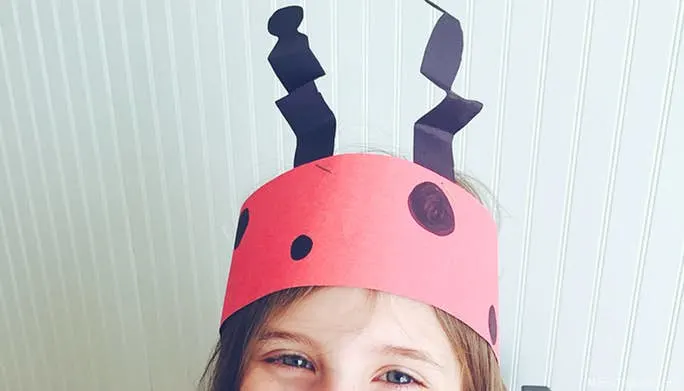
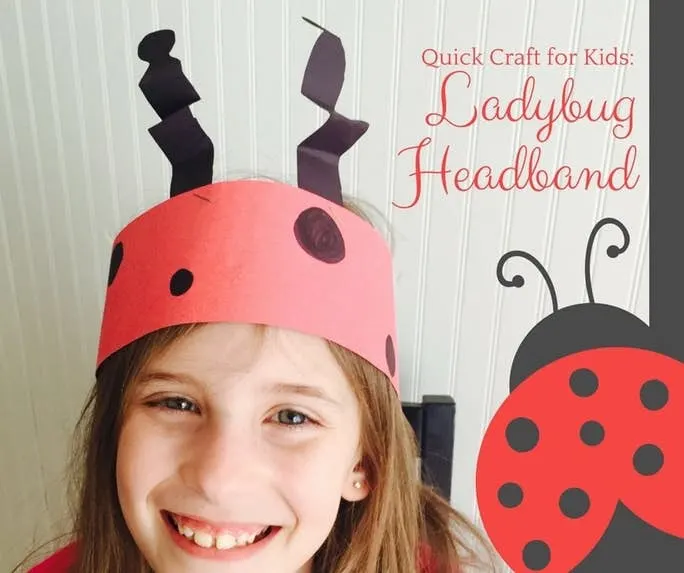
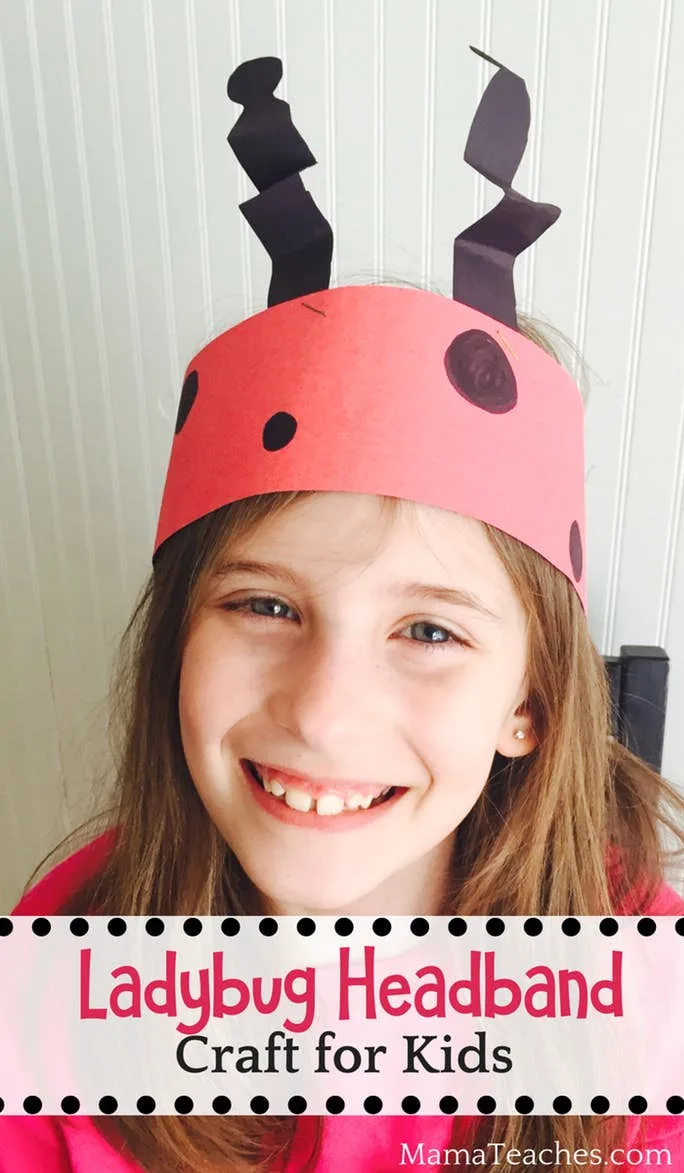
Enter the quick and easy ladybug headband.
With just a few simple supplies, kids can whip up a headband to wear as they navigate a ladybug unit study or when they’re helping in the garden.
Either way, the craft will take about 15-minutes total and makes for a perfect learning-in-progress photo prop!
You might also like the:Ladybug Clothespin Craft for Kids
Craft for Kids: Easy Ladybug Headband
Ages: 2+ (with adult supervision)
**Time:**15 minutes
Materials Needed:
- Black marker
- Safety scissors
- Stapler
- Glue
- Red construction paper
- Black construction paper

Directions:
- Cut the red construction paper into a long strip (about 4″ wide) to fit around your head.
- Color black circles on the red band using the marker.
- Cut two antenna out of the black construction paper and glue or staple them to the band.
- Staple the ends of the band together and you’re ready to wear your ladybug headband. Have fun!
Share your Easy Ladybug Headband craft with us by posting a picture on our Facebook page or tagging us @MamaTeaches on Instagram!
And, if you’d like your own ladybug habitat, this is the one we use and recommend!
