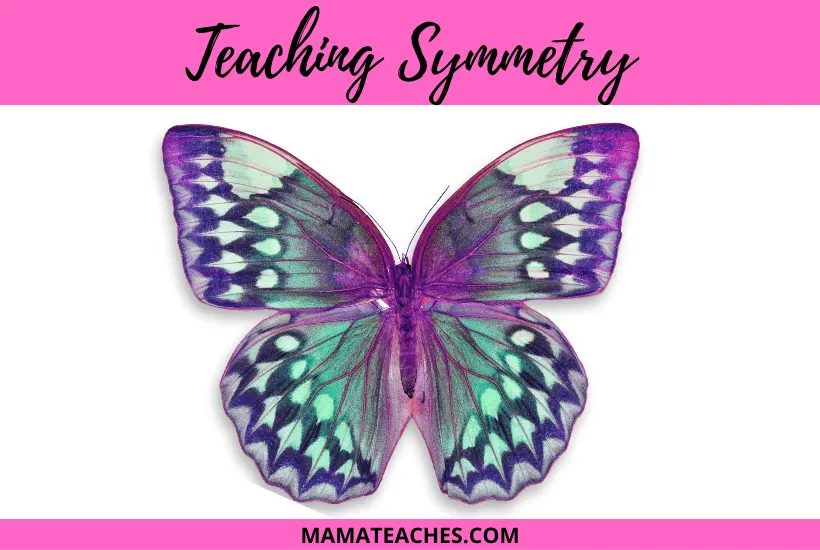
Teaching symmetry brings to mind folded sheets of construction paper and cutting out heart patterns.
The “fold line” showed the line of symmetry.
Those folded sheets of construction paper do have their place, but I’ve got a few different ideas to share with you!

This article contains affiliate links to things that you might like.
Teach symmetry by getting creative.
If you present concepts in fun and engaging ways, kids will love learning.
They’ll love these multi-sensory activities, and I’m sure you will too!
What Is Symmetry?
If something is divided in a way that leaves a mirror image on both sides, it’s symmetrical.
Think of a circle.
Draw a line right down the middle, and you’re left with identical halves on each side.
Take it a step further and fold the paper in half along that line.
If the sides are exactly the same–(You guessed it!)–they’re symmetrical.
The line that divides an object evenly is called the line of symmetry.

This post contains affiliate links to things that you might like!
Teaching Symmetry in Fun Ways
Instead of just telling kids about symmetry, why not immerse them in it?
Even the youngest children subconsciously notice symmetry simply by looking at others’ faces.
This is a fun place to start with young learners!
Draw a large circle on a piece of paper or a poster board.
This circle represents a face.
You can even think really big here and use a hula-hoop if you’ve got the space!
Get some Play-Doh and create one side of the face and guide children as they create the other side of the face.
Use questioning and guiding vocabulary to help them see the symmetrical nature of the face.
*Bonus: The Play-Doh is also great to help with fine motor development!

More Ideas for Teaching Symmetry
Try these other fun ideas with your students.
They’ll begin to learn the concept of symmetry, and they’ll have fun at the same time!
- Pattern Blocks: If you’ve got pattern blocks (aka parquetry blocks) around your house or classroom, they’re fantastic for teaching symmetry! Draw a line down a sheet of paper or poster board, or make a line on a table or desk using tape, string, etc. Model using the blocks by placing them on one side of the line of symmetry and have students mirror what you create. The goal is to guide children toward building symmetrical creations independently.
- Nature Hunt: Go on a nature hunt with your children and collect items like leaves, rocks, twigs, flowers, etc. Divide a work area in the same ways mentioned above, or use a long stick as the line of symmetry! Using the same methods above, have students create symmetrical leaf people or any creations their imaginations lead them to build!
- Chalk Tracing: Use sidewalk chalk to trace children’s bodies in the driveway. Depending on how they lay, the figure can be symmetrical or asymmetrical. This is a cool way to introduce items that are asymmetrical!
- Paper Airplanes: Go back to your own childhood days and build paper airplanes! These allow many opportunities to discuss symmetry. You can also pull in some cool science terms like aerodynamics with this one!

Worksheets for Teaching Symmetry
- Try a fun winter symmetry activity that will chase away the cold-weather blues! This Snowflake Symmetry Activity is a no-prep activity packet that’s perfect for homeschool and grades 2-5. These worksheets are a perfect complement to the book Snowflake Bentley by Jacqueline Briggs Martin.
- For the springtime, this Spring Symmetry Activity is a great way to usher in the warmer weather! It’s also no-prep and great as a stand-alone math center or for early finishers in grades 2-5 and homeschool. Read We Are the Gardeners by Joanna Gaines to add a cross-curricular element to this activity!


